Vuoi creare mandala digitali impeccabili? Gli strumenti di simmetria lo rendono rapido e facile. Rispecchiano e ripetono automaticamente i pattern, risparmiando tempo e assicurando un allineamento perfetto. Ecco cosa devi sapere:
- Software migliori : Adobe Illustrator (a pagamento), Procreate (solo per iPad) o opzioni gratuite comeInkscape e Krita .
- Caratteristiche principali da ricercare : simmetria radiale, strumenti di riflessione, segmenti regolabili e griglie guida.
- Impostazione della tela : utilizzare dimensioni quadrate (ad esempio 3000x3000 px) per la simmetria, con una risoluzione adeguata per output digitali o di stampa.
- Fasi di progettazione : iniziare con un centro semplice, procedere a strati verso l'esterno e rifinire con dettagli intricati.
- Ritocchi finali : sperimenta con i colori, aggiungi profondità usando i gradienti e controlla la precisione prima di esportare.
Confronto rapido delle opzioni software
| Software | Costo | Caratteristiche | Piattaforma |
|---|---|---|---|
| Illustratore di Adobe | $ 20,99/mese | Grafica vettoriale, strumenti radiali/di riflessione | Finestre, Mac |
| Procreare | $ 9,99 (una tantum) | Simmetria radiale, pennelli sensibili alla pressione | Solo iPad |
| Inkscape (gratuito) | Gratuito | Strumenti di simmetria di base open source | Windows, Mac, Linux |
| Krita (gratuito) | Gratuito | Modalità wrap-around, focalizzata sulla pittura | Windows, Mac, Linux |
| Progettista di mandala | Gratuito (online) | Semplice strumento per la creazione di mandala | Basato sul Web |
Creare mandala digitali significa combinare creatività e precisione. Con gli strumenti e le tecniche giuste, puoi produrre in modo efficiente design sbalorditivi e simmetrici.
Disegna un mandala usando lo strumento Simmetria di Procreate

Selezione del software di progettazione Mandala
Quando si sceglie un software di progettazione mandala , cercare strumenti che forniscano forti caratteristiche di simmetria e siano facili da usare. Questa combinazione assicura un processo di progettazione fluido ed efficiente.
Le migliori opzioni software
Ecco alcune scelte popolari:
Adobe Illustrator ($ 20,99/mese)
- Funziona con la grafica vettoriale
- Include strumenti radiali e di riflessione
- Supporta la creazione di modelli
- Offre regolazioni precise del punto di ancoraggio
Procreate (acquisto una tantum di $ 9,99, solo per iPad)
- Progettato per l'interazione touch
- Presenta una guida di simmetria radiale
- Supporta fino a 30 sezioni di simmetria
- Include spazzole sensibili alla pressione
Alternative gratuite
- Inkscape : editor vettoriale open source con strumenti di simmetria
- Krita : Software di pittura digitale con modalità wrap-around
- Mandala Designer : strumento online creato appositamente per i mandala
Caratteristiche di simmetria da ricercare
| Caratteristica | Scopo | Vantaggio per il flusso di lavoro |
|---|---|---|
| Simmetria radiale | Crea motivi circolari attorno a un punto centrale | Accelera il processo di progettazione |
| Strumenti di riflessione | Specchia gli elementi attraverso gli assi | Garantisce design equilibrati |
| Segmenti regolabili | Imposta il numero di sezioni ripetute | Consente stili di design diversi |
| Griglie guida | Mantiene una spaziatura coerente | Migliora la precisione |
| Supporto a strati | Consente la modifica non distruttiva | Semplifica le modifiche di progettazione |
Opzioni di personalizzazione chiave
- Regola il numero di segmenti : scegli tra 4 e 32 sezioni per diversi stili di mandala.
- Imposta angoli di rotazione : regola con precisione il modo in cui gli elementi ruotano all'interno del progetto.
- Blocca la simmetria : mantieni intatta la simmetria mentre disegni per ottenere un risultato impeccabile.
Per mandala di qualità professionale , seleziona un software che includa sia strumenti di simmetria radiale che di riflessione. Una volta scelto lo strumento giusto, sarai pronto a impostare il tuo spazio di lavoro per progetti precisi e creativi.
Preparazione dell'area di lavoro
Creare uno spazio di lavoro digitale ben organizzato è fondamentale per realizzare disegni mandala precisi. Impostare correttamente la tela e gli strumenti garantisce un flusso di lavoro fluido e risultati di alta qualità.
Guida alle dimensioni della tela
La dimensione della tua tela gioca un ruolo cruciale nel determinare la qualità e l'usabilità del tuo mandala. Utilizza le seguenti impostazioni in base all'output desiderato:
| Scopo dell'output | Dimensioni della tela | Risoluzione | Formato file |
|---|---|---|---|
| Display digitale | 3000 x 3000 px | 72 DPI | Formato PNG/JPG |
| Stampa (8" x 8") | 2400 x 2400 px | 300 DPI | Formato TIFF/PDF |
| Grande formato | 4800 x 4800 px | 300 DPI | Formato TIFF/PDF |
| Media sociali | Dimensioni: 2048 x 2048 px | 72 DPI | Formato PNG/JPG |
Usa sempre una tela quadrata per mantenere la simmetria nel tuo design. Le dimensioni più grandi sono ideali per motivi intricati, poiché consentono maggiori dettagli senza perdere qualità quando vengono ridimensionate.
Impostazione dello strumento di simmetria
La messa a punto delle impostazioni di simmetria è essenziale per creare design bilanciati. Ecco come impostarla:
- Allineamento del punto centrale : posiziona il centro su (1500,1500) su una tela 3000×3000.
- Numero di segmenti : i principianti possono iniziare con 8 segmenti, mentre i progetti più complessi potrebbero richiedere da 16 a 32 segmenti.
- Impostazioni di aggancio : abilita l'aggancio alla griglia con incrementi di 15 gradi per un allineamento preciso.
- Linee speculari : attiva sia la simmetria radiale che quella bilaterale per avere il controllo completo del tuo progetto.
Una volta definite le impostazioni di simmetria, è il momento di strutturare l'area di lavoro con le griglie guida.
Impostazione delle griglie guida
-
Layout della griglia di base
Disegna 5-6 cerchi concentrici partendo dal centro, distanziandoli di 200-300 px. -
Linee guida radiali
Aggiungi linee radiali a intervalli regolari in base alla simmetria scelta. Ad esempio, usa angoli di 45 gradi per una simmetria a 8 segmenti. -
Livelli di lavoro
Organizza il tuo progetto in tre livelli:- In basso : Linee guida della griglia (blocca questo livello per evitare modifiche accidentali).
- Centro : Elementi principali del design.
- In alto : Dettagli e abbellimenti.
Imposta il colore della griglia su grigio chiaro (#CCCCCC) al 50% di opacità. Questo assicura che le linee guida siano visibili ma non distraggano dal tuo lavoro.
sbb-itb-b6c1dc0
Creare il tuo Mandala
Con il tuo spazio di lavoro pronto, è il momento di iniziare a creare il tuo mandala. Utilizzare strumenti di simmetria ti aiuterà a creare pattern dettagliati mantenendo tutto allineato geometricamente.
Progettazione del punto centrale
Inizia con una semplice forma geometrica, come un cerchio, un quadrato o un esagono, per ancorare il centro del tuo mandala. Utilizza strumenti di allineamento per garantire un equilibrio perfetto. Mantieni questa parte minima per creare un forte punto focale per il tuo design.
Creazione di livelli di pattern
Una volta impostato il centro, espandi verso l'esterno aggiungendo strati. Lavora metodicamente per creare un design coeso:
- Anello interno : utilizzare forme geometriche di base per la struttura.
- Anello centrale : aggiungi forme fluide o simili a petali per creare movimento.
- Anello esterno : aggiungi ornamenti decorativi per un tocco di stile.
- Bordo : rifinisci con delicati tocchi per incorniciare il mandala.
Sfrutta gli strumenti di simmetria radiale e modifica le dimensioni del pennello man mano che procedi per creare profondità ed enfatizzare i dettagli.
Aggiunta di lavori di dettaglio
Con la struttura di base in atto, concentrati sul perfezionamento del tuo mandala con dettagli intricati. È qui che il tuo design prende davvero vita:
- Affinamento dei livelli : inizia con elementi più grandi, quindi usa la funzione specchio per aggiungere dettagli più piccoli e di collegamento.
- Motivi di precisione : passa a pennelli di dimensioni più piccole per tocchi decorativi precisi.
- Dettagli equilibrati : combina sezioni decorate con aree più semplici per mantenere un ritmo gradevole in tutto il design.
Perfezionare il tuo design
Una volta costruita la struttura centrale del tuo mandala, è il momento di concentrarsi sui dettagli che lo faranno risaltare. Piccole modifiche possono elevare il tuo design e dargli un aspetto raffinato e professionale.
Selezione del colore
Scegli un colore di base che si allinei allo scopo del tuo design. Sperimenta con schemi di colori complementari , analoghi o monocromatici per creare equilibrio. Utilizza strumenti come il contagocce per garantire toni di colore coerenti in tutto il tuo lavoro.
Texture e profondità
Crea profondità incorporando gradienti sottili, regolando le opacità o aggiungendo ombre portate con parsimonia. Un mix di aree strutturate e lisce può guidare l'occhio dell'osservatore attraverso il tuo design senza sopraffarlo. Una volta aggiunta profondità, concentrati sulla rifinitura di dettagli più piccoli per un aspetto coeso.
Regolazioni finali
Concludi il tuo processo di progettazione con una revisione approfondita. Utilizza gli strumenti di misurazione del tuo software per verificare l'allineamento radiale, la spaziatura uniforme e i pesi delle linee coerenti. Esporta il tuo file nella risoluzione e nel formato corretti: 72-300 DPI per progetti digitali, 300+ DPI per la stampa. Infine, ingrandisci per ispezionare intersezioni pulite, curve morbide e allineamento preciso. Questi ritocchi finali assicurano che il tuo mandala sia pronto per essere esposto.
Risorse ed esempi
Collezione Mandala Blululi
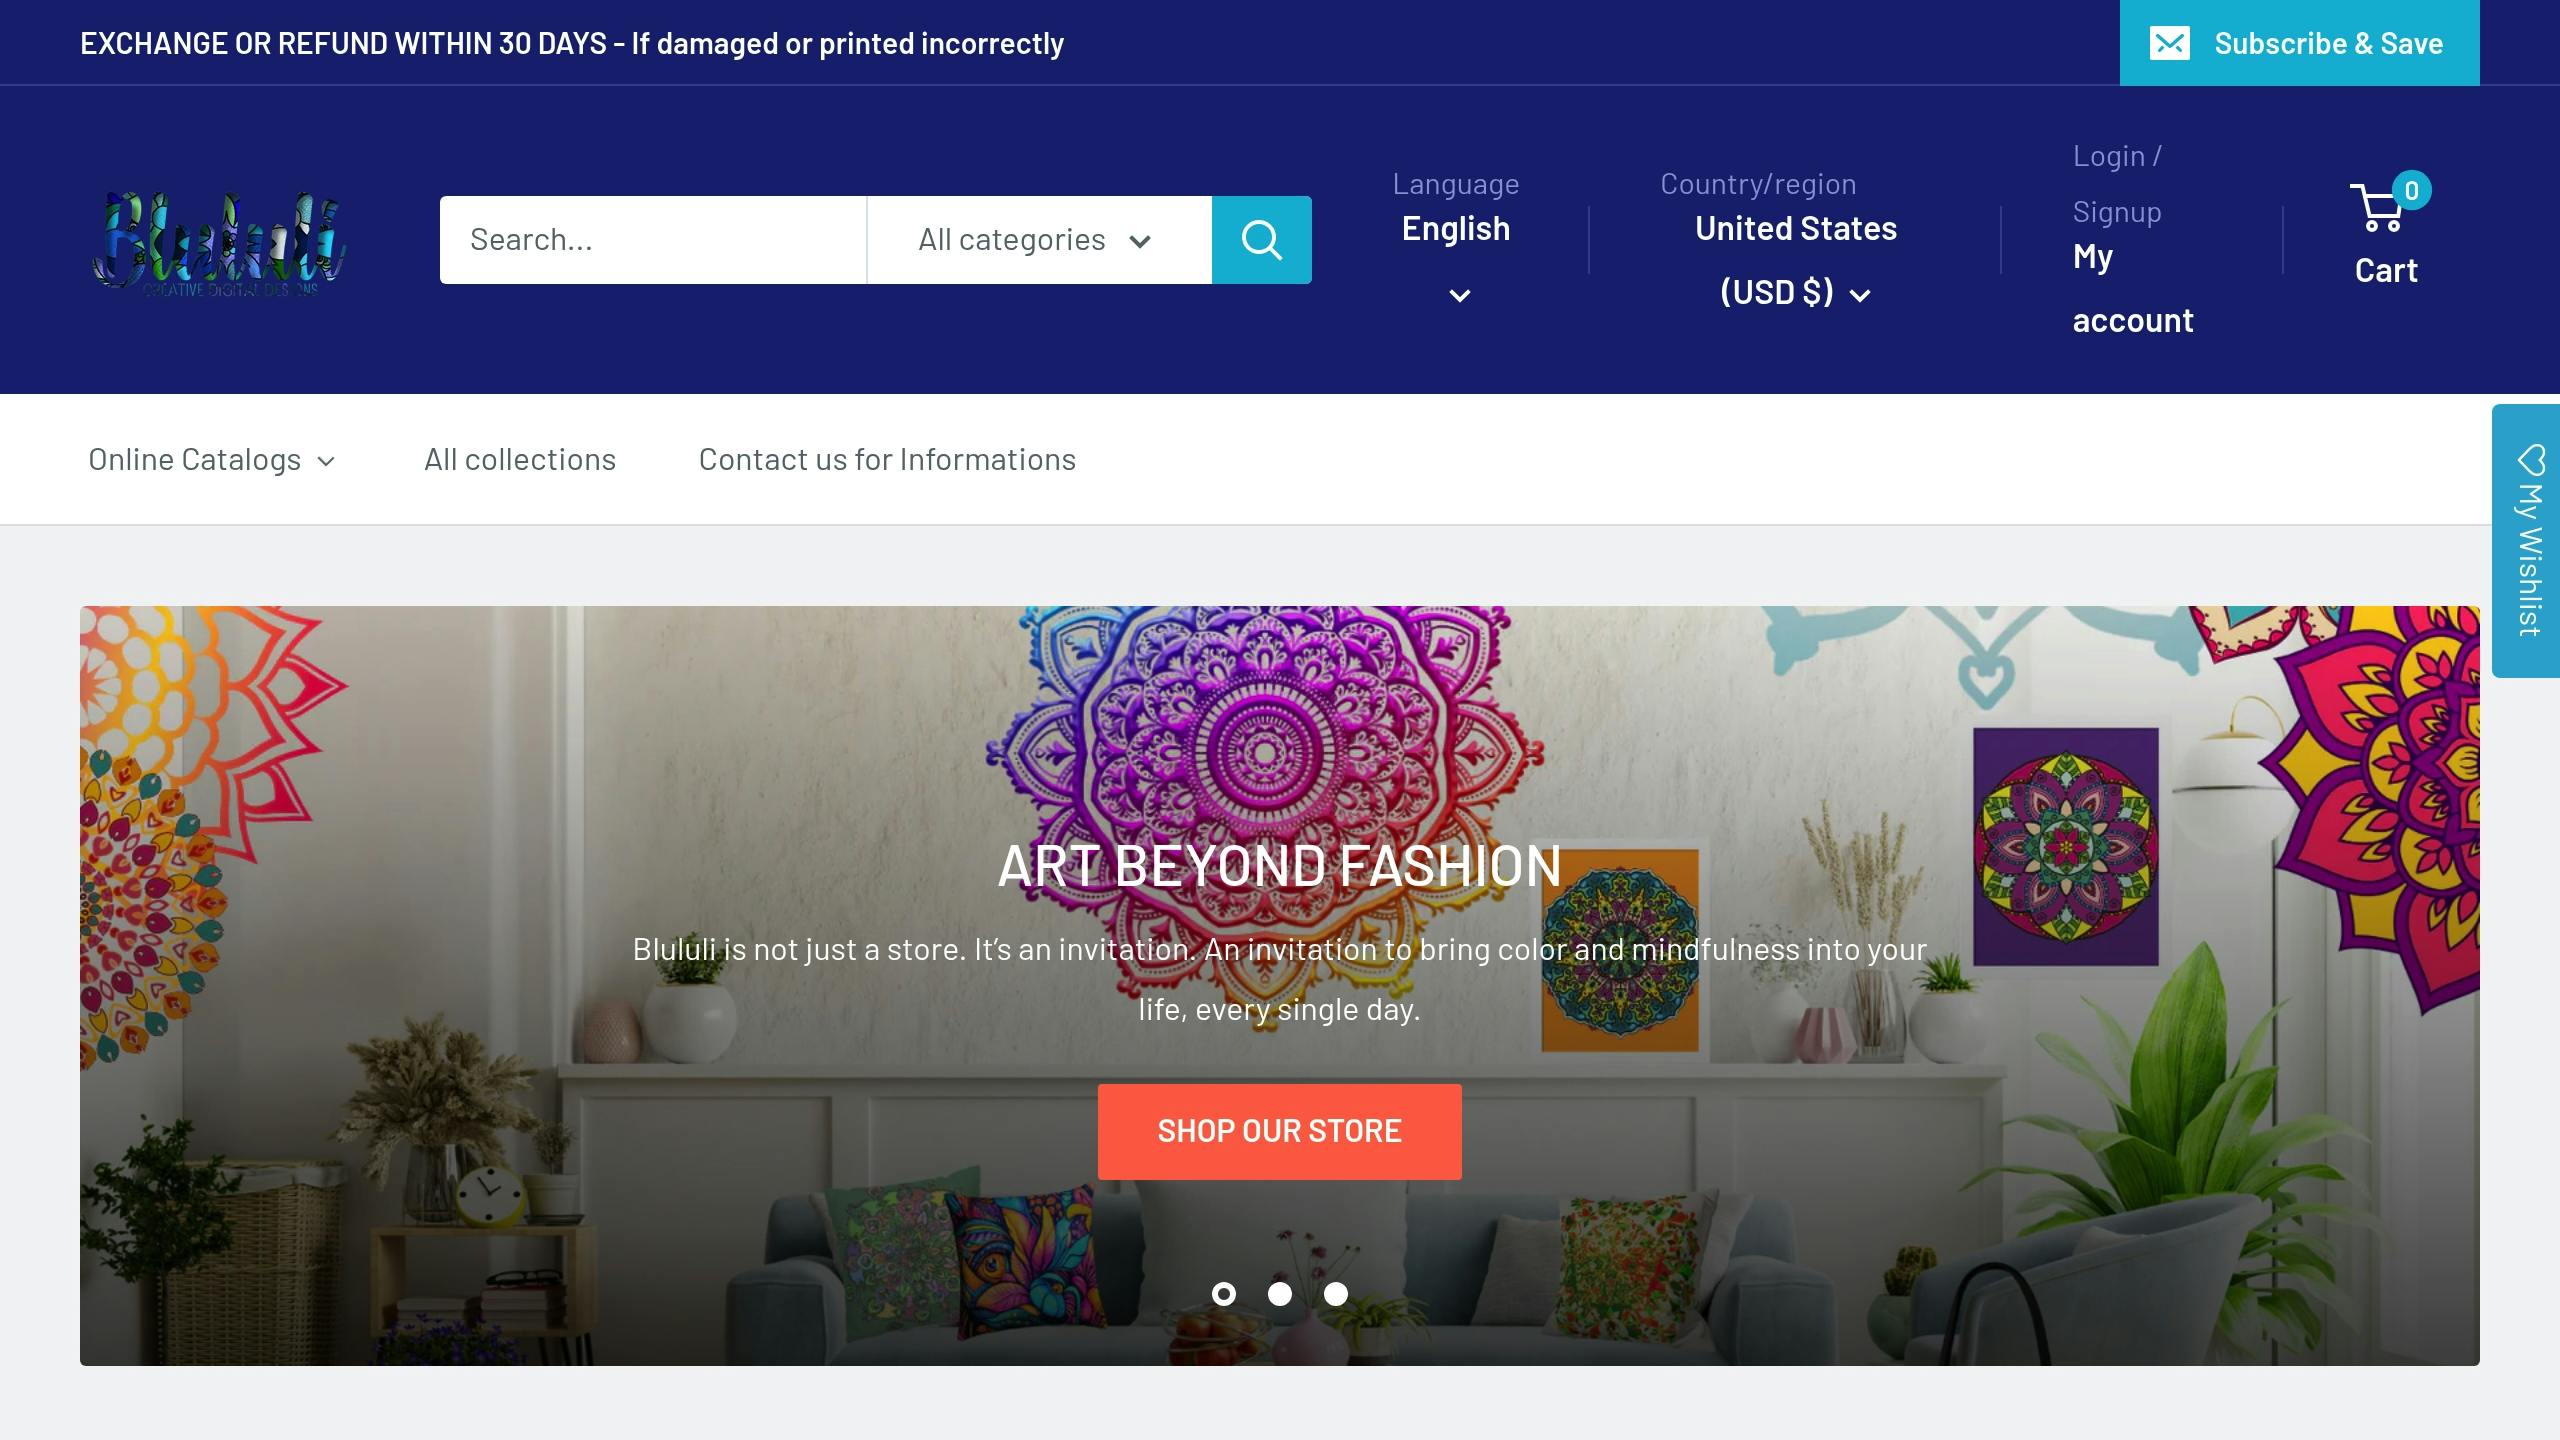
Blululi mostra come l'arte mandala disegnata a mano possa essere elevata con strumenti digitali. Combinando tecniche a mano libera con metodi basati su Python, creano modelli che perfezionano la sovrapposizione di pattern, migliorano le combinazioni di colori e creano un equilibrio tra design dettagliati e spazi aperti. Puoi persino iscriverti alla loro newsletter per ricevere un PDF gratuito per colorare i mandala , perfetto per praticare la simmetria con un tocco naturale.
I principali insegnamenti tratti dal loro lavoro includono:
- Tecniche per sovrapporre i modelli in modo efficace
- Approcci per ottenere combinazioni di colori armoniose
- Metodi per bilanciare dettagli intricati con spazi aperti
Questi esempi forniscono una solida base per esplorare gli aspetti tecnici discussi più avanti.
Risorse di apprendimento
Approfondisci la progettazione dei mandala con questi utili strumenti e community:
Comunità di progettazione online
- Galleria di mandala digitali di Behance : esplora una varietà di design di mandala professionali e contatta i loro creatori.
- DeviantArt Mandala Group : entra in contatto con altri appassionati di mandala e condividi i tuoi lavori.
- Adobe Creative Cloud Learn : accedi a tutorial gratuiti sull'uso degli strumenti di simmetria in Photoshop e Illustrator.
Video Tutorial e Corsi
- Skillshare : scopri " Digital Mandala Mastery " di Sarah Thompson, che offre 12 ore di lezioni approfondite.
- Domestika : impara a disegnare motivi geometrici, con particolare attenzione ai mandala.
- YouTube : guarda la serie mensile di tutorial sui Mandala di Creative Insights per suggerimenti e tecniche gratuiti.
Risorse specifiche del software
- Adobe Illustrator : esplora la documentazione dello strumento Simmetria per una guida dettagliata.
- Procreate : utilizza la loro guida ufficiale alla simmetria radiale per progetti senza soluzione di continuità.
- Affinity Designer : prova i loro modelli di area di lavoro mandala per un processo semplificato.
Materiali di riferimento tecnico
- La geometria del pattern e del design : una guida completa per padroneggiare i pattern.
- Geometria sacra nell'arte digitale : un riferimento dettagliato per incorporare i principi della geometria sacra.
- Risorse matematiche per la costruzione precisa e accurata dei mandala.
Queste risorse sono perfette per migliorare le tue competenze e approfondire l'arte della creazione di mandala.
Riepilogo
Progettare mandala digitali con strumenti di simmetria unisce creatività e precisione. Questa guida ti accompagna nel processo, dalla scelta degli strumenti giusti al perfezionamento del tuo design finale, rendendo più facile la creazione di mandala intricati con equilibrio geometrico.
L'utilizzo di software con funzionalità di simmetria forte semplifica il compito automatizzando la replica e la ripetizione dei pattern, risparmiando tempo e fatica. Iniziare con una solida base assicura che i tuoi design siano precisi e scorrano senza soluzione di continuità dal centro verso l'esterno.
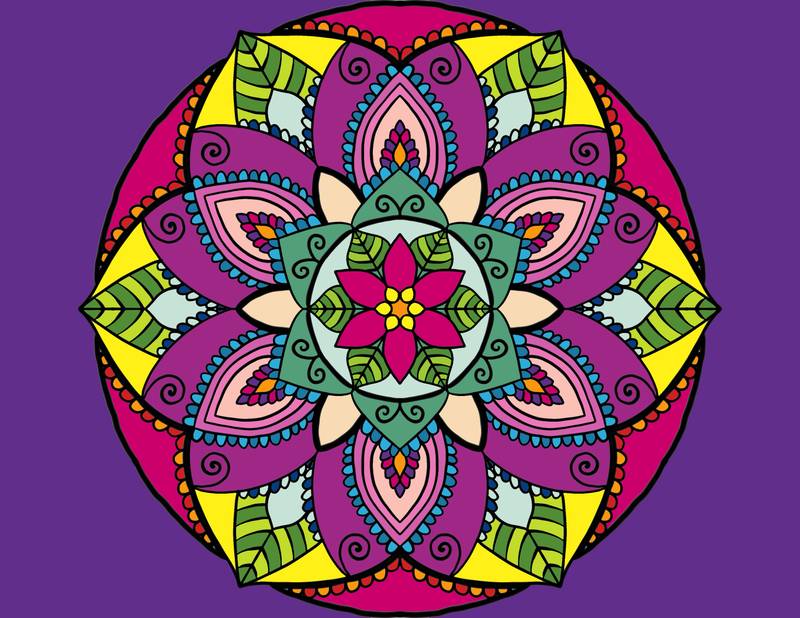
Inizia con un centro chiaro e ben definito per ancorare il tuo design. Se sei alle prime armi, prova a lavorare prima con forme semplici e aggiungi gradualmente complessità man mano che acquisisci sicurezza. Esercitarti con modelli o pagine da colorare può aiutarti a cogliere la simmetria e il flusso del pattern prima di immergerti nelle tue creazioni.
I grandi mandala digitali creano un equilibrio tra motivi dettagliati e spazi aperti, creando un senso di armonia. Concentrati sulle combinazioni di colori e sulla consistenza per elevare il tuo design, trasformando le forme geometriche di base in opere d'arte accattivanti.