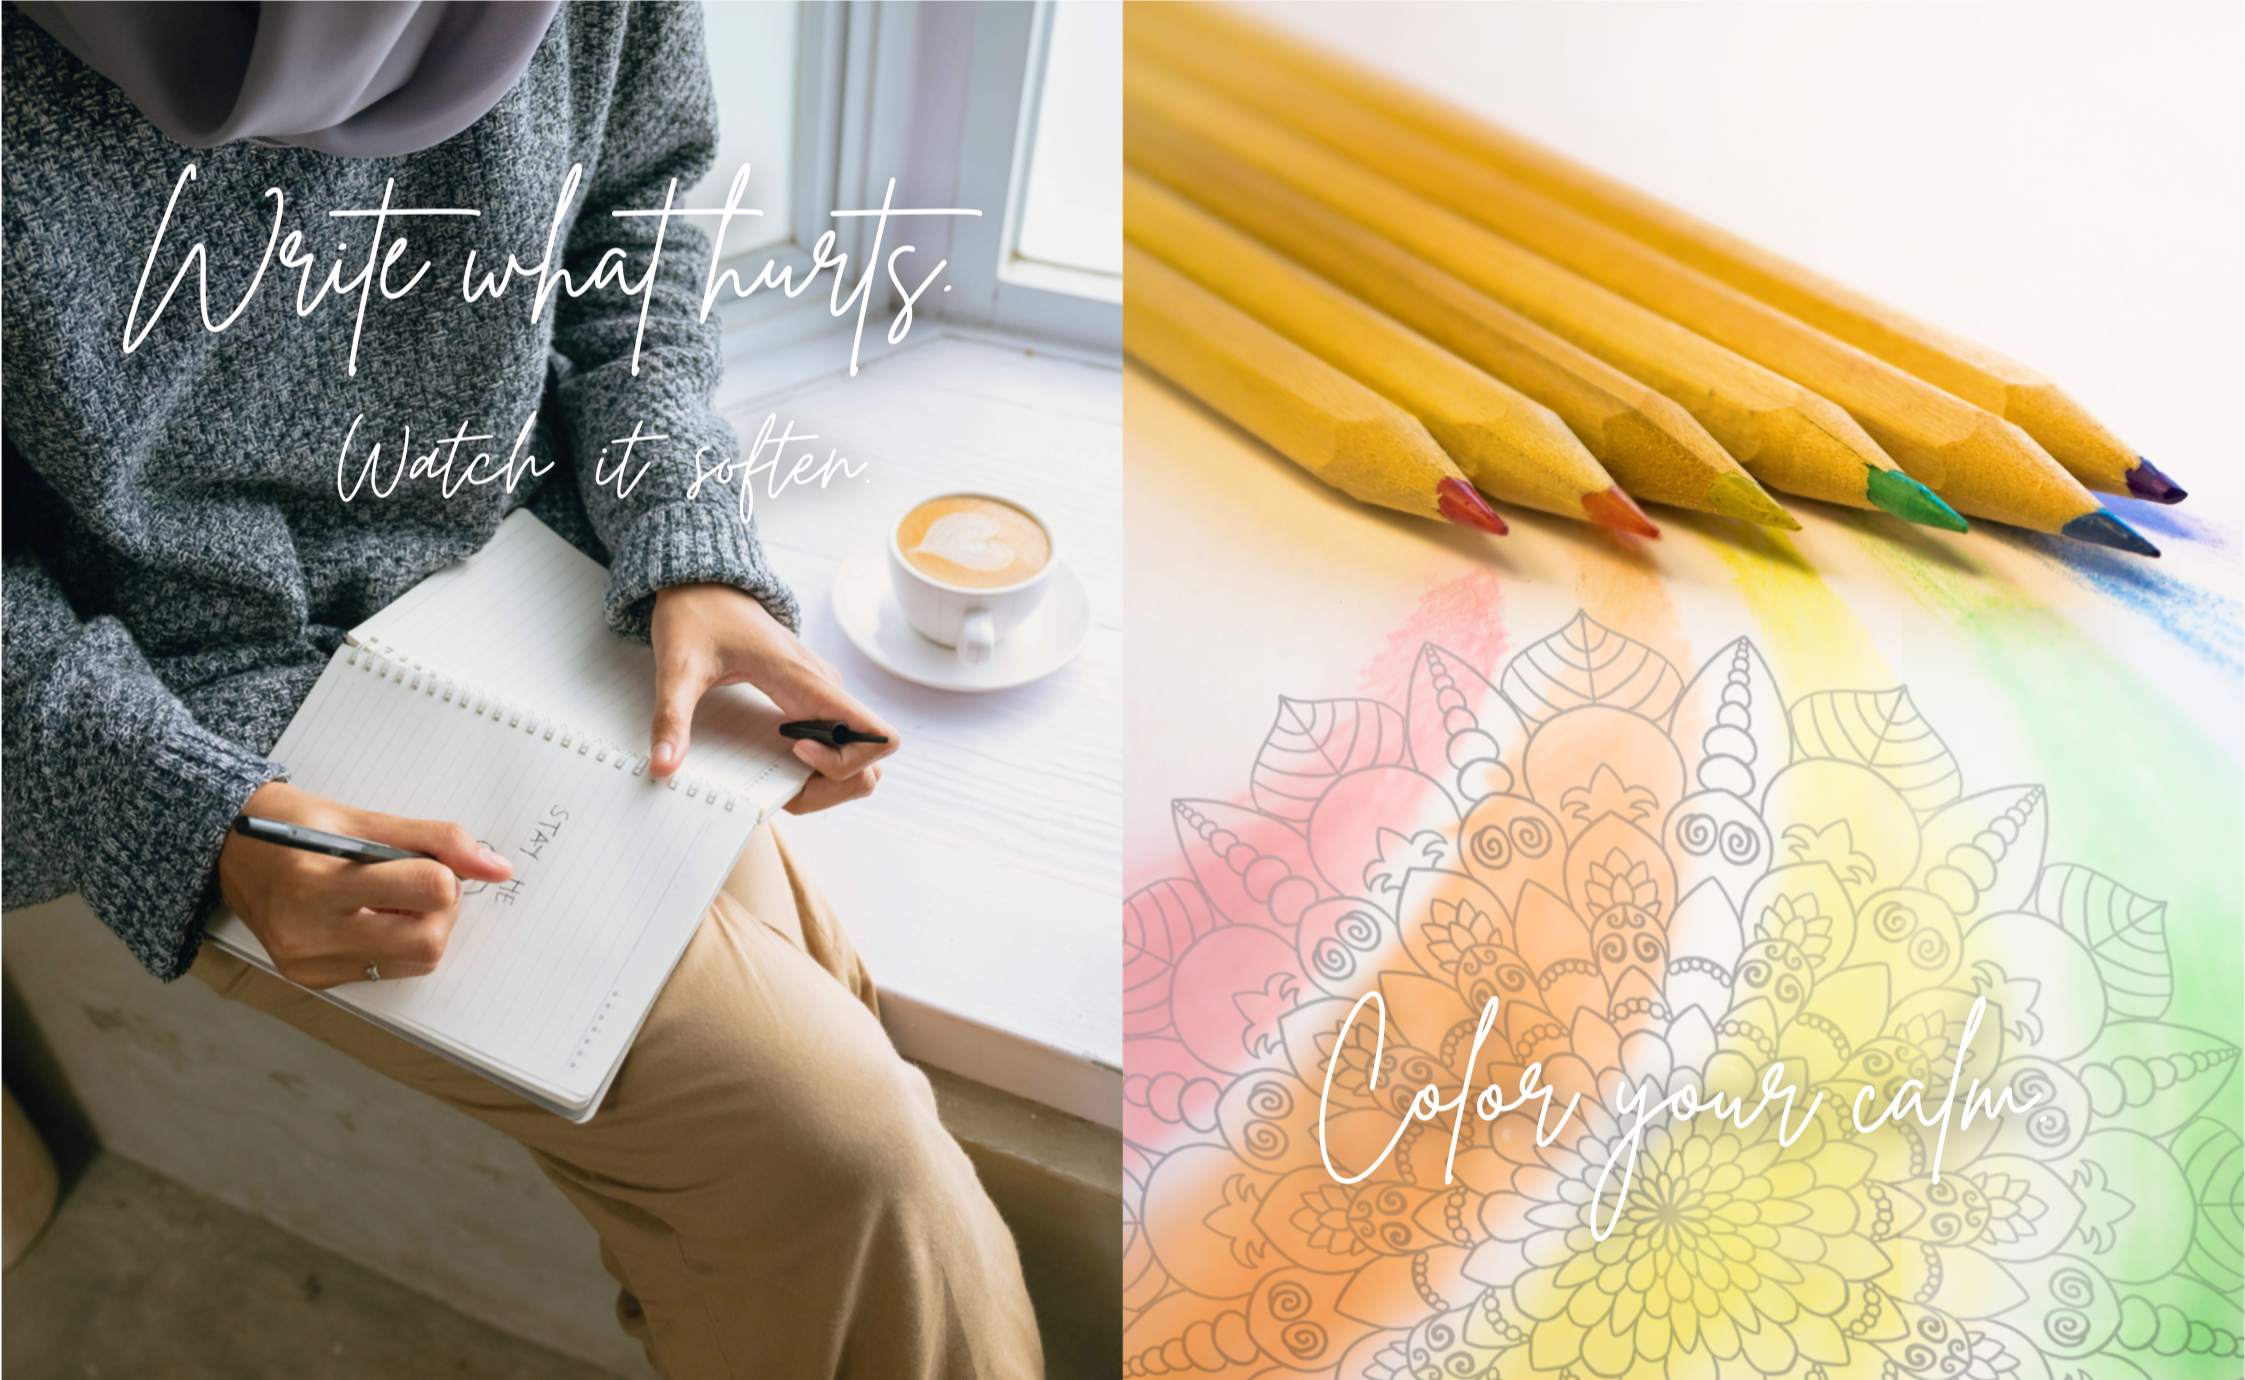
Combina creatività e consapevolezza, aiutandoti a concentrarti, calmare la mente e alleviare l'ansia. Sia che tu disegni o colori i mandala, i pattern ripetitivi e le forme circolari promuovono chiarezza mentale e pace interiore.
Punti chiave:
- Antistress : i mandala aiutano a calmare una mente iperattiva e a riportarti al momento presente.
- Maggiore concentrazione : creare mandala migliora la concentrazione e allontana le distrazioni mentali.
- Consapevolezza : ogni colpo favorisce il rilassamento e la calma.
Iniziare:
- Raccogli strumenti come matite, carta e modelli.
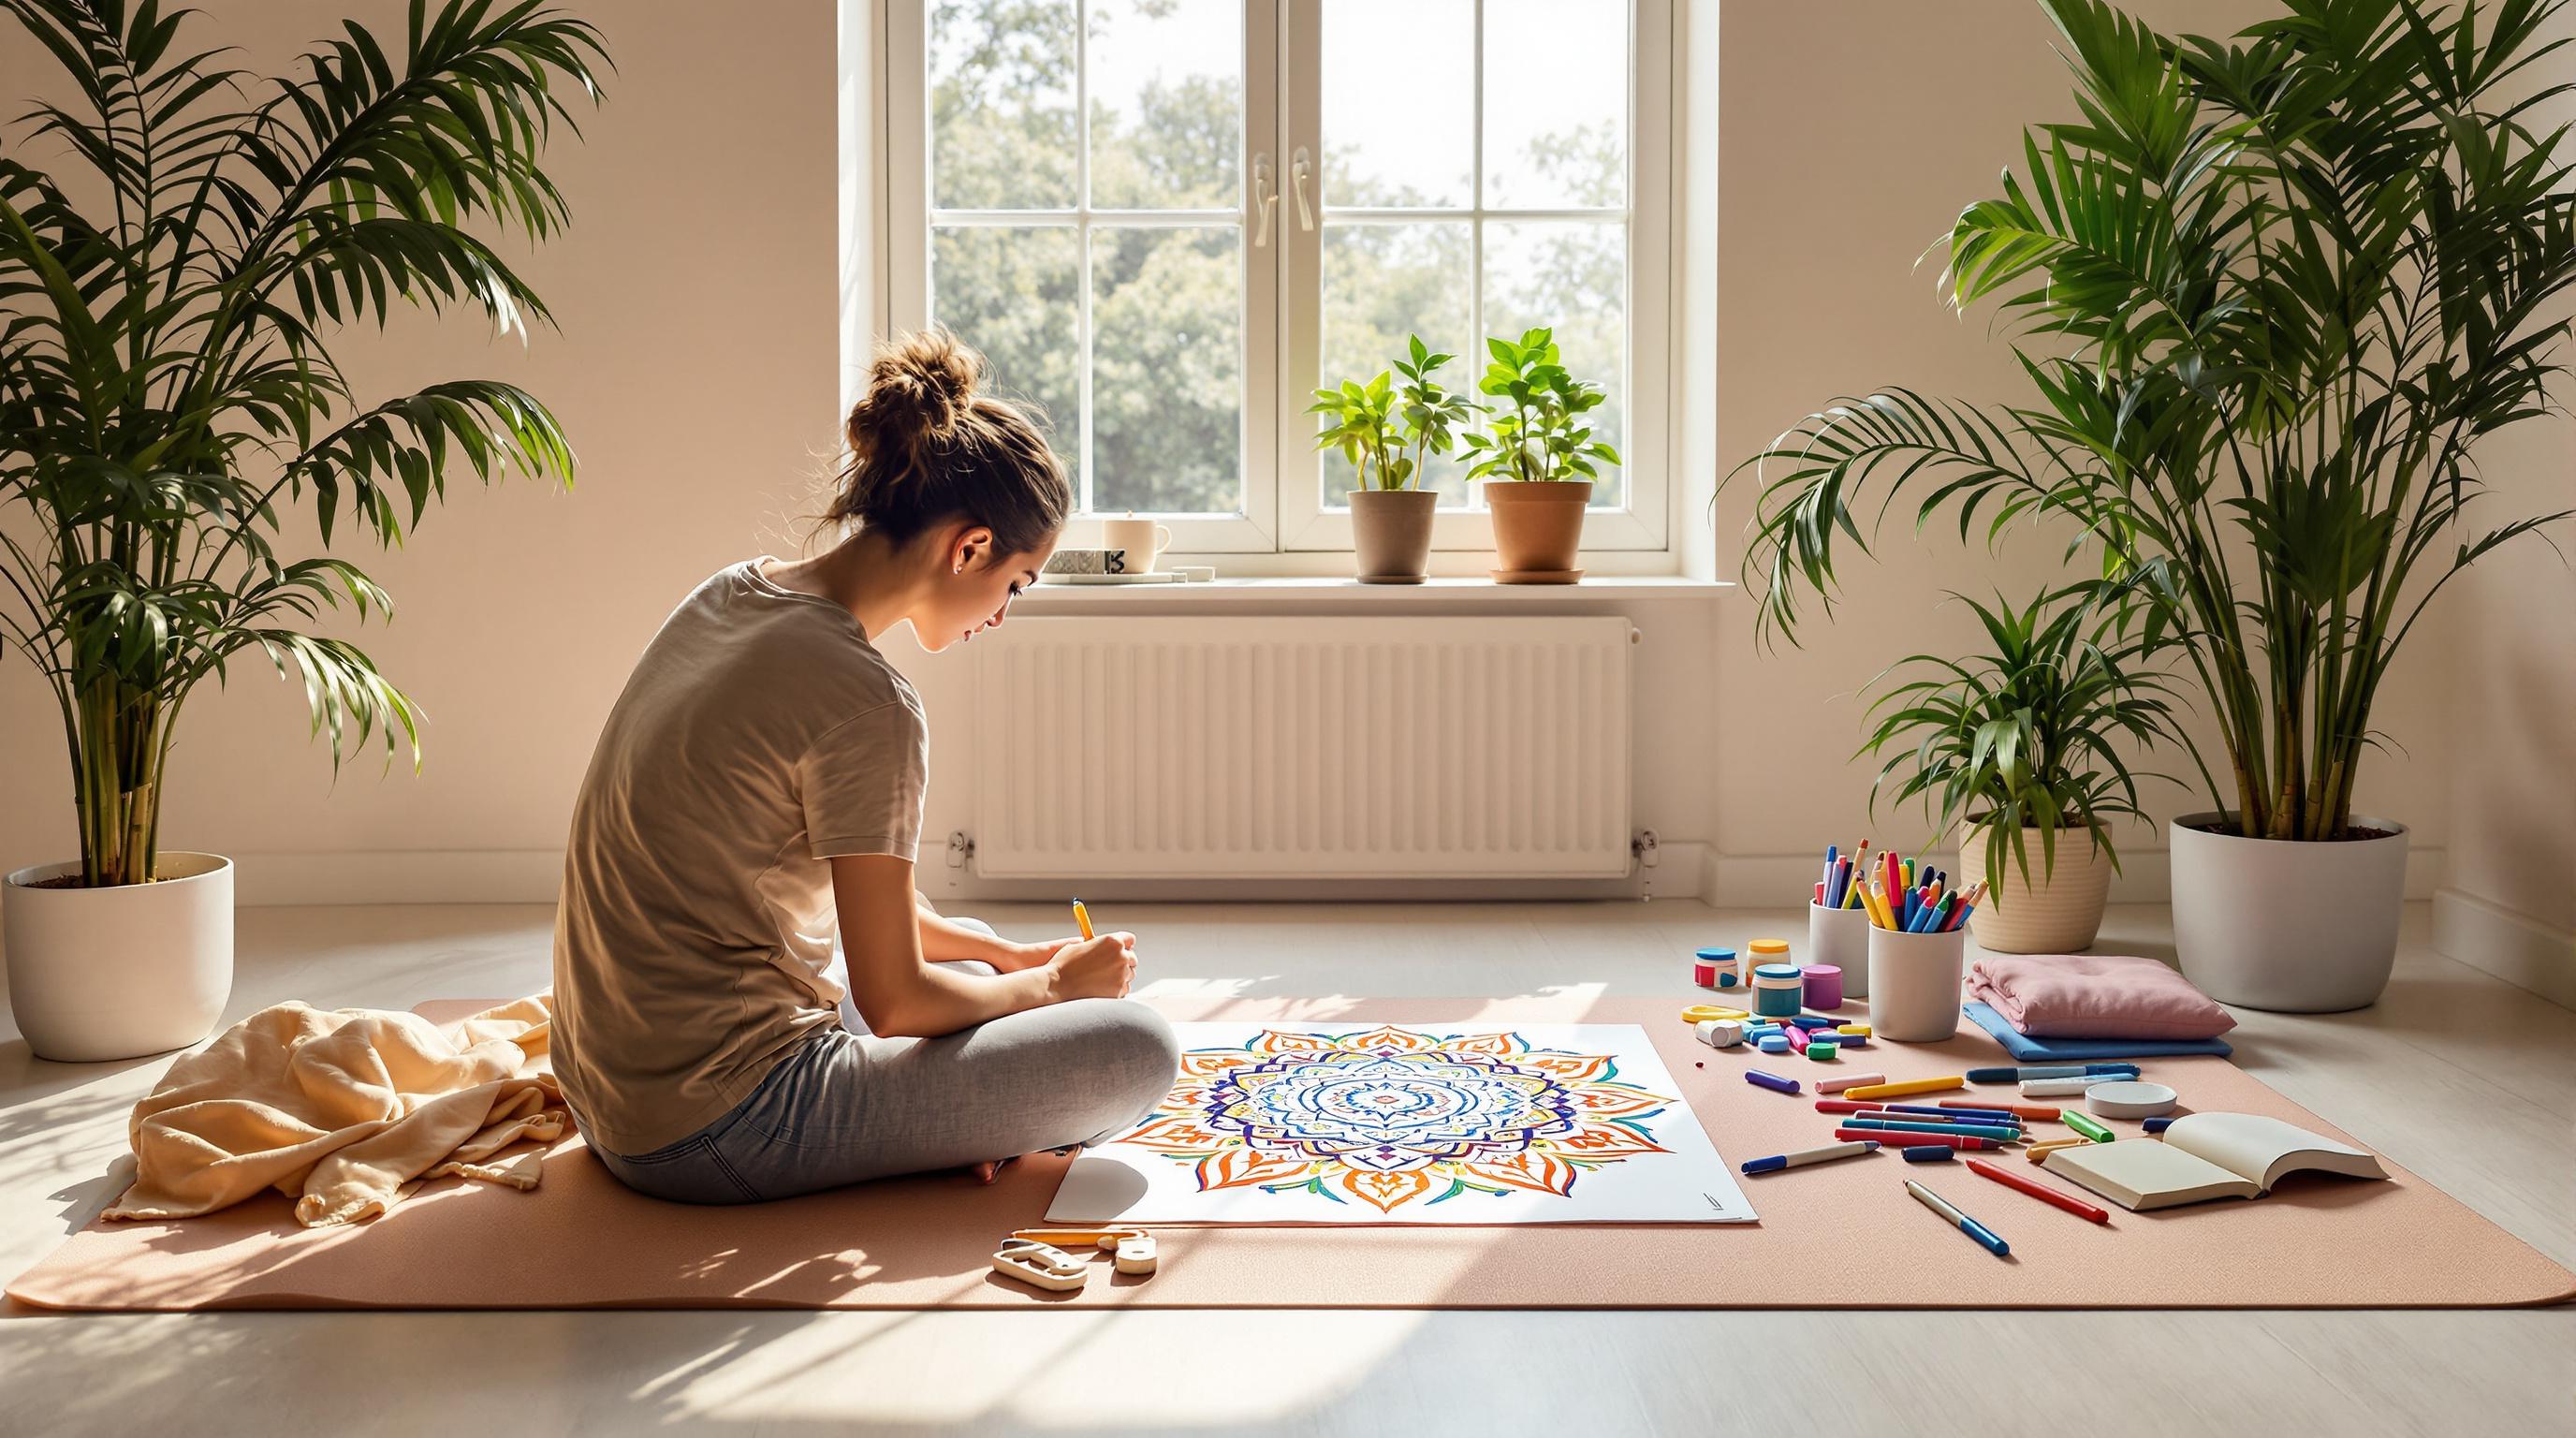
- Predisporre uno spazio di lavoro tranquillo e ben illuminato.
- Dedica 15 minuti al giorno al disegno o alla colorazione.
Per i principianti, usate modelli pre-disegnati o iniziate con forme semplici. Concentratevi sul processo, non sulla perfezione. I mandala possono anche completare la meditazione e fungere da decorazione rilassante nel vostro spazio.
Meditazione di disegno di arte mandala consapevole per alleviare lo stress
Perché l'arte dei mandala riduce lo stress
I mandala sono più di semplici disegni bellissimi: hanno un effetto calmante che può aiutare a migliorare il benessere mentale. Ecco come l'impegno con l'arte dei mandala può alleviare lo stress e portare chiarezza alla tua mente.
Sollievo dallo stress e dall'ansia
I pattern circolari e ripetitivi dei mandala hanno un effetto rilassante. Aiutano a calmare una mente iperattiva, riportando la tua attenzione sul momento presente e creando un senso di relax.
Miglioramento della concentrazione e della chiarezza mentale
Creare mandala richiede concentrazione. Questa attenzione focalizzata non solo affina la mente, ma aiuta anche a liberarsi dalle distrazioni mentali, lasciandoti più centrato.
Incoraggiare la consapevolezza e la calma interiore
Lavorare sull'arte dei mandala promuove la consapevolezza combinando creatività e rilassamento. Ogni tratto o scelta di colore aiuta a placare il rumore mentale, favorendo un senso di pace interiore. Che tu ne progetti uno tuo o utilizzi modelli pre-disegnati, i mandala possono essere un ottimo strumento per trovare l'equilibrio.
Inizia la tua pratica di Mandala
Creare la giusta configurazione può rendere la tua pratica di mandala art ancora più rilassante. Ecco come iniziare con gli strumenti giusti e un ambiente rilassante.
Strumenti e materiali
Non hai bisogno di molto per iniziare il tuo viaggio nel mandala. Ecco una rapida analisi delle basi e di alcuni extra che potrebbero piacerti:
| Articoli indispensabili | Extra utili |
|---|---|
| Bussola | Governate |
| Matite (2H, HB, 2B) | Goniometro |
| Carta di alta qualità (80 libbre+) | Matite colorate |
| Gomma per cancellare | Pennarelli a punta fine |
| Modelli circolari | Penne gel |
Se sei un principiante, dai un'occhiata ai modelli scaricabili di Blululi : sono un ottimo modo per imparare gli schemi di base.
Impostazione del tuo spazio
Una volta che hai tutto il materiale necessario, crea uno spazio di lavoro che ti aiuti a concentrarti e a rilassarti.
- Illuminazione : assicurati che l'area sia ben illuminata, se possibile con luci regolabili.
- Comodità : utilizzare un tavolo robusto e una sedia con un buon supporto per la schiena.
- Organizzazione : tieni gli attrezzi a portata di mano, ma evita il disordine.
- Zona tranquilla : scegli uno spazio lontano da distrazioni.
Vuoi fare un ulteriore passo avanti? Aggiungi della musica strumentale soft o un profumo rilassante come la lavanda per aiutarti a concentrarti. E non dimenticare di silenziare i tuoi dispositivi.
Primi passi per principianti
Ora che il tuo spazio è pronto, è il momento di iniziare a disegnare. Segui questi semplici passaggi per iniziare il processo:
- Scarica gratuitamente i modelli di mandala per farti un'idea del flusso dei motivi.
- Esercitati a disegnare forme basilari come cerchi e triangoli.
- Inizia con un piccolo cerchio al centro e procedi poi verso l'esterno, una sezione alla volta.
Concentratevi sul godervi il processo piuttosto che puntare alla perfezione. Man mano che acquisite sicurezza, potete provare schemi più intricati e sperimentare con diversi strumenti per espandere le vostre competenze.
sbb-itb-b6c1dc0
4 passaggi per disegnare il tuo primo mandala
Disegnare il tuo primo mandala è un modo rilassante per esplorare la creatività restando consapevoli. Ecco come puoi iniziare:
1. Stabilisci la tua intenzione
Prenditi un momento per respirare profondamente. Pensa a cosa vuoi canalizzare attraverso il tuo mandala: pace, concentrazione o guarigione. Considera quali colori e motivi rappresentano meglio quella sensazione.
2. Creare il framework
Una volta stabilita la tua intenzione, inizia a costruire la base del tuo mandala:
- Utilizzare un compasso per disegnare un cerchio largo circa 15-20 cm.
- Segna il centro e disegna un cerchio più piccolo (circa 2,5 cm) al suo interno.
- Dividere il cerchio più grande in 8 sezioni uguali usando angoli di 45 gradi. Un goniometro può aiutare con la precisione.
Mantieni le linee della matita leggere in modo da poterle modificare a seconda delle necessità. Questa struttura guiderà il tuo design.
3. Progetta i tuoi modelli
- Inizia dal centro con forme semplici come cerchi, triangoli o forme simili a petali.
- Ripeti ogni disegno in tutte le sezioni prima di aggiungere nuovi elementi.
- Procedi verso l'esterno, sovrapponendo prima le forme più grandi e riempiendole man mano con dettagli più piccoli.
Questa è la fase in cui la tua creatività può emergere.
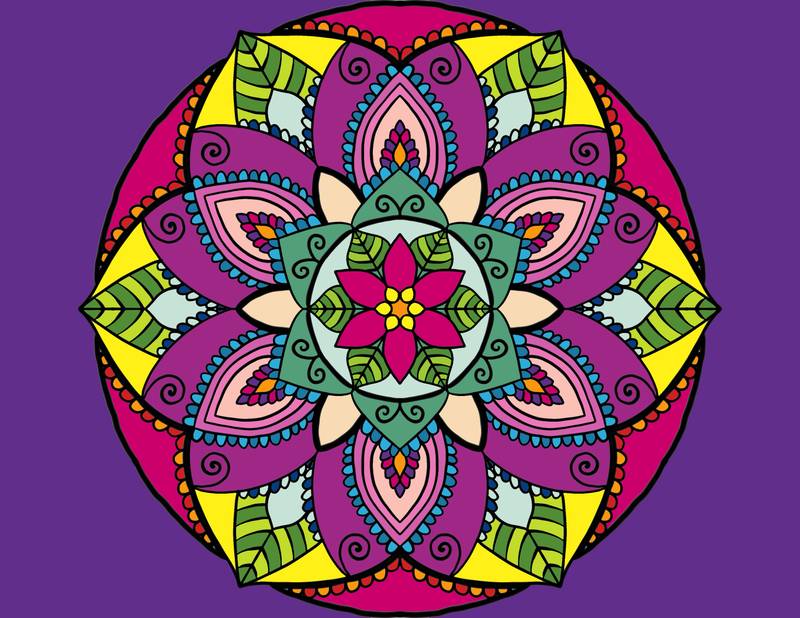
4. Dagli vita con il colore
Inizia a colorare dal centro e procedi verso l'esterno. Inizia con tonalità più chiare, quindi aggiungi toni più scuri per creare profondità e dimensione. Lascia che i colori riflettano il sentimento o l'intenzione che hai impostato in precedenza, aiutandoti a rimanere calmo e concentrato mentre lavori.
Goditi il processo: non esiste un modo giusto o sbagliato per creare il tuo mandala!
Rendere i mandala parte della tua giornata
Pianifica il tuo tempo di pratica
Riservate 15-20 minuti al giorno per creare mandala. Che sia al mattino, durante la pausa pranzo o la sera, trovate un momento che si adatti alla vostra routine. Potete sempre estendere il tempo man mano che vi sentite più a vostro agio.
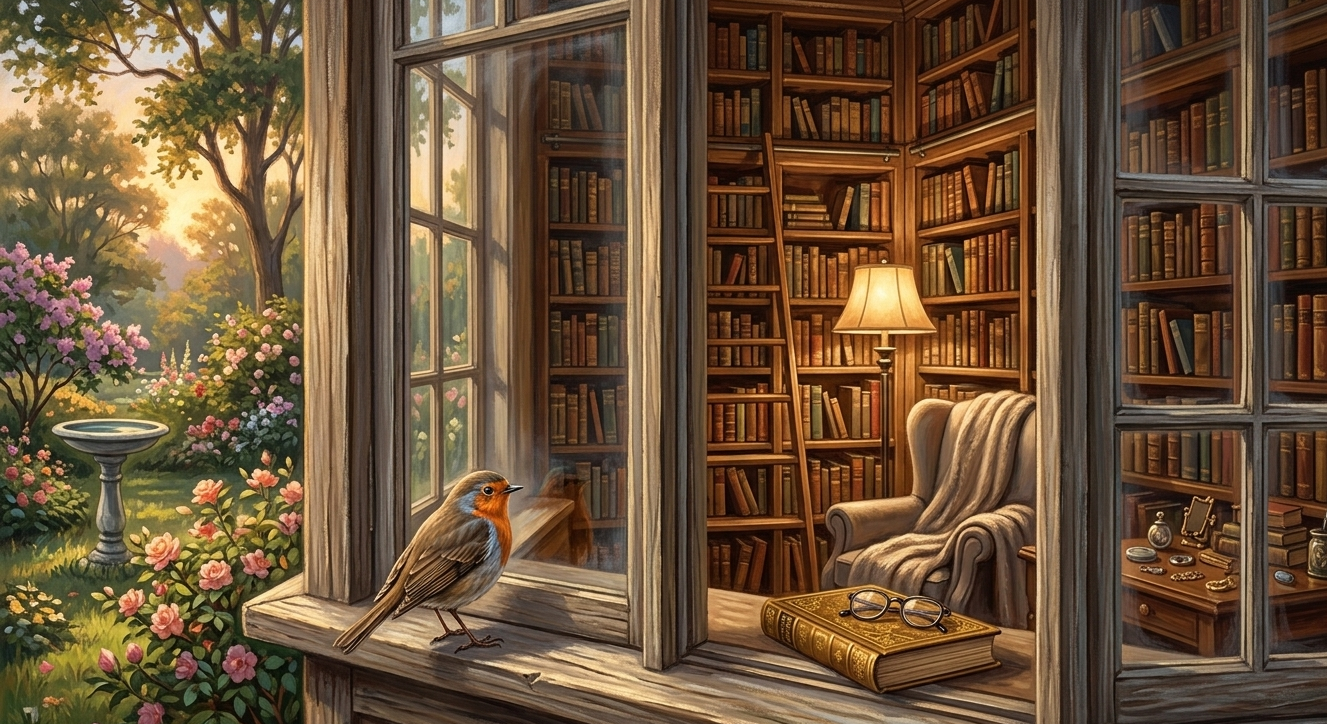
- Mattina : abbina una sessione di disegno al tuo caffè.
- Pausa pranzo : schizzo per un rapido reset mentale.
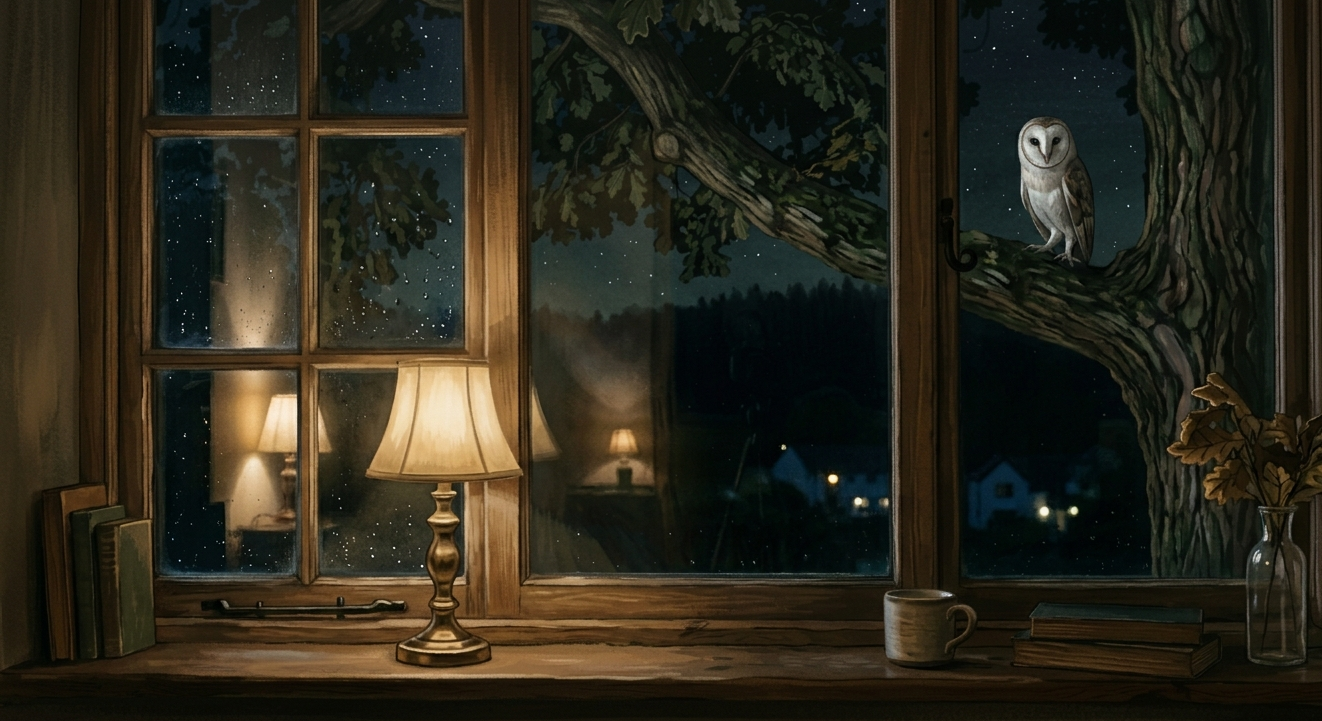
- Sera : rilassatevi colorando prima di andare a letto.
Incorporate la respirazione consapevole in queste sessioni per migliorare il rilassamento e la concentrazione.
Mandala e Meditazione
Abbinare l'arte dei mandala alla respirazione consapevole può rendere l'esperienza ancora più rilassante. Inizia dedicando 2-3 minuti alla concentrazione sul tuo respiro prima di iniziare a disegnare. Mantieni un ritmo costante e calmo mentre lavori.
Per un approccio più meditativo:
- Imposta un timer su 10 minuti.
- Disegna il tuo mandala lentamente e con intenzione.
- Fai tre respiri profondi ogni volta che fai una pausa tra una sezione e l'altra.
- Presta attenzione alle sensazioni che trasmette il tuo corpo durante tutto il processo.
Utilizzo della tua opera d'arte finita
I mandala completati possono servire come gentili promemoria per rimanere presenti e calmi. Esponili in spazi in cui trascorri del tempo e puoi trarre beneficio da un momento di consapevolezza.
| Posizione | Scopo | Beneficio |
|---|---|---|
| Soggiorno | Un punto focale calmante | Incoraggia il rilassamento e la consapevolezza |
| Camera da letto | Aiuto per rilassarsi prima di dormire | Crea un'atmosfera serena e riposante |
| Bagno | Momenti di consapevolezza rapidi | Ti aiuta a iniziare o rinfrescare la giornata con calma |
Esponendo la tua arte, crei spunti visivi che rafforzano i benefici della tua pratica.
Forniture per l'arte mandala
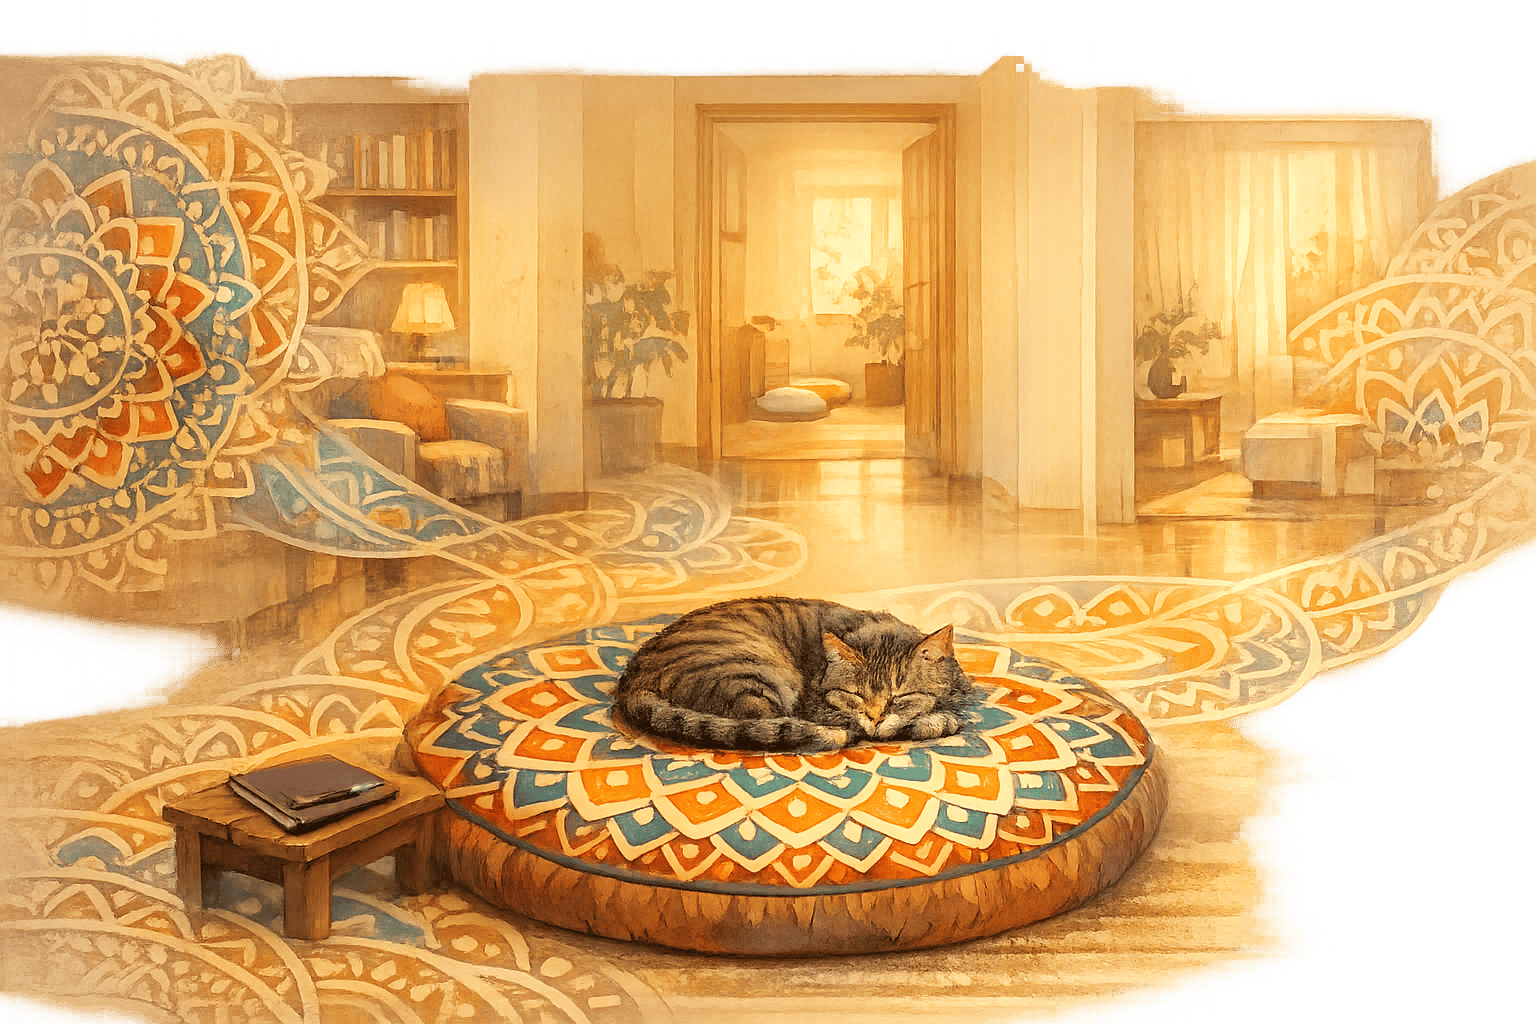
Tieni a portata di mano i tuoi strumenti per essere più facile rimanere coerente. Un semplice kit con matite colorate di qualità, pennarelli sottili e carta liscia è tutto ciò di cui hai bisogno. Per extra, Blululi offre un Digital Self-Care Bundle a $ 12,70, insieme a decorazioni ispirate ai mandala come tappeti (a partire da $ 25,17) e cuscini per la meditazione. Questi articoli raddoppiano come strumenti per la tua pratica e promemoria quotidiani per rimanere consapevole.
Riepilogo
Punti principali
L'arte dei mandala unisce l'espressione artistica alla consapevolezza, aiutando ad alleviare lo stress e a favorire la chiarezza mentale.
| Aspetto | Beneficio | Suggerimento pratico |
|---|---|---|
| Pratica quotidiana | Riduce lo stress | Dedica 15 minuti al disegno concentrato |
| Creazione consapevole | Migliora la concentrazione | Da abbinare ad esercizi di respirazione |
| Configurazione dello spazio | Crea calma | Utilizzare un'area tranquilla e ben illuminata |
| Utensili | Crea coerenza | Investire in forniture di base di qualità |
Mantieni coerenza e intenzionalità nella tua pratica. Lascia che questi vantaggi ti guidino mentre sviluppi le tue competenze.
Prossimi passi
Per iniziare, segui questi passaggi:
- Procuratevi matite colorate, pennarelli a punta fine e carta liscia.
- Predisporre uno spazio di lavoro tranquillo e ben illuminato.
- Dedica 15 minuti ogni giorno.
- Inizia con progetti semplici.
Dai un'occhiata al Digital Self-Care Bundle di Blululi per modelli guidati e strumenti di consapevolezza . Concentrati sul goderti il processo piuttosto che sul raggiungere la perfezione.