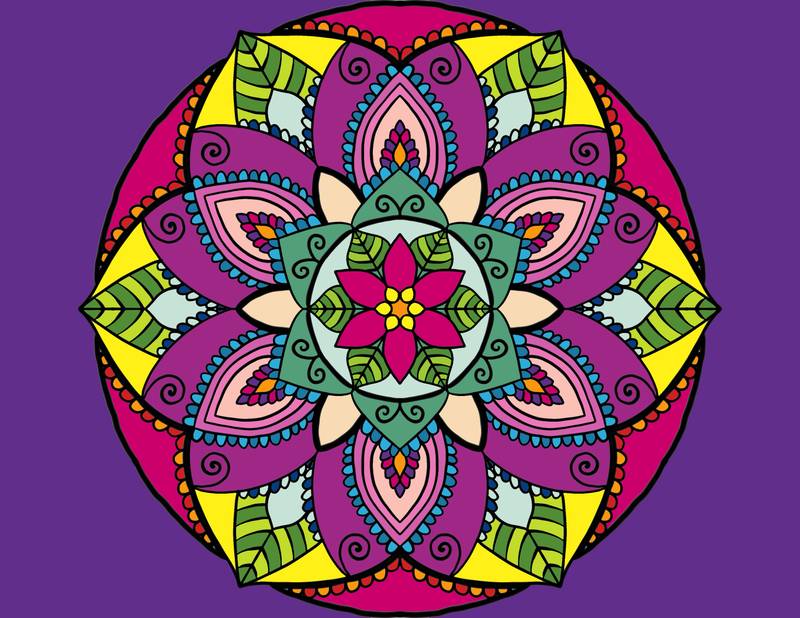
Turn everyday waste into beautiful mandala wall art while reducing waste. This guide covers seven ways to repurpose materials into unique decor:
- Furniture Panels: Transform old furniture panels into durable, painted mandalas.
- Used Fabrics: Use old textiles for textured, colorful designs.
- Scrap Metal: Create industrial-style mandalas with discarded metal.
- Book Pages: Repurpose aged book pages for vintage-inspired art.
- Reclaimed Wood: Use wood scraps to craft rustic, layered designs.
- Broken Glass: Turn shattered glass into sparkling mosaics.
- Print & Paint: Combine printed patterns with hand-painted details.
Each method includes tips for preparation, design, and preservation. Start crafting eco-friendly art today!
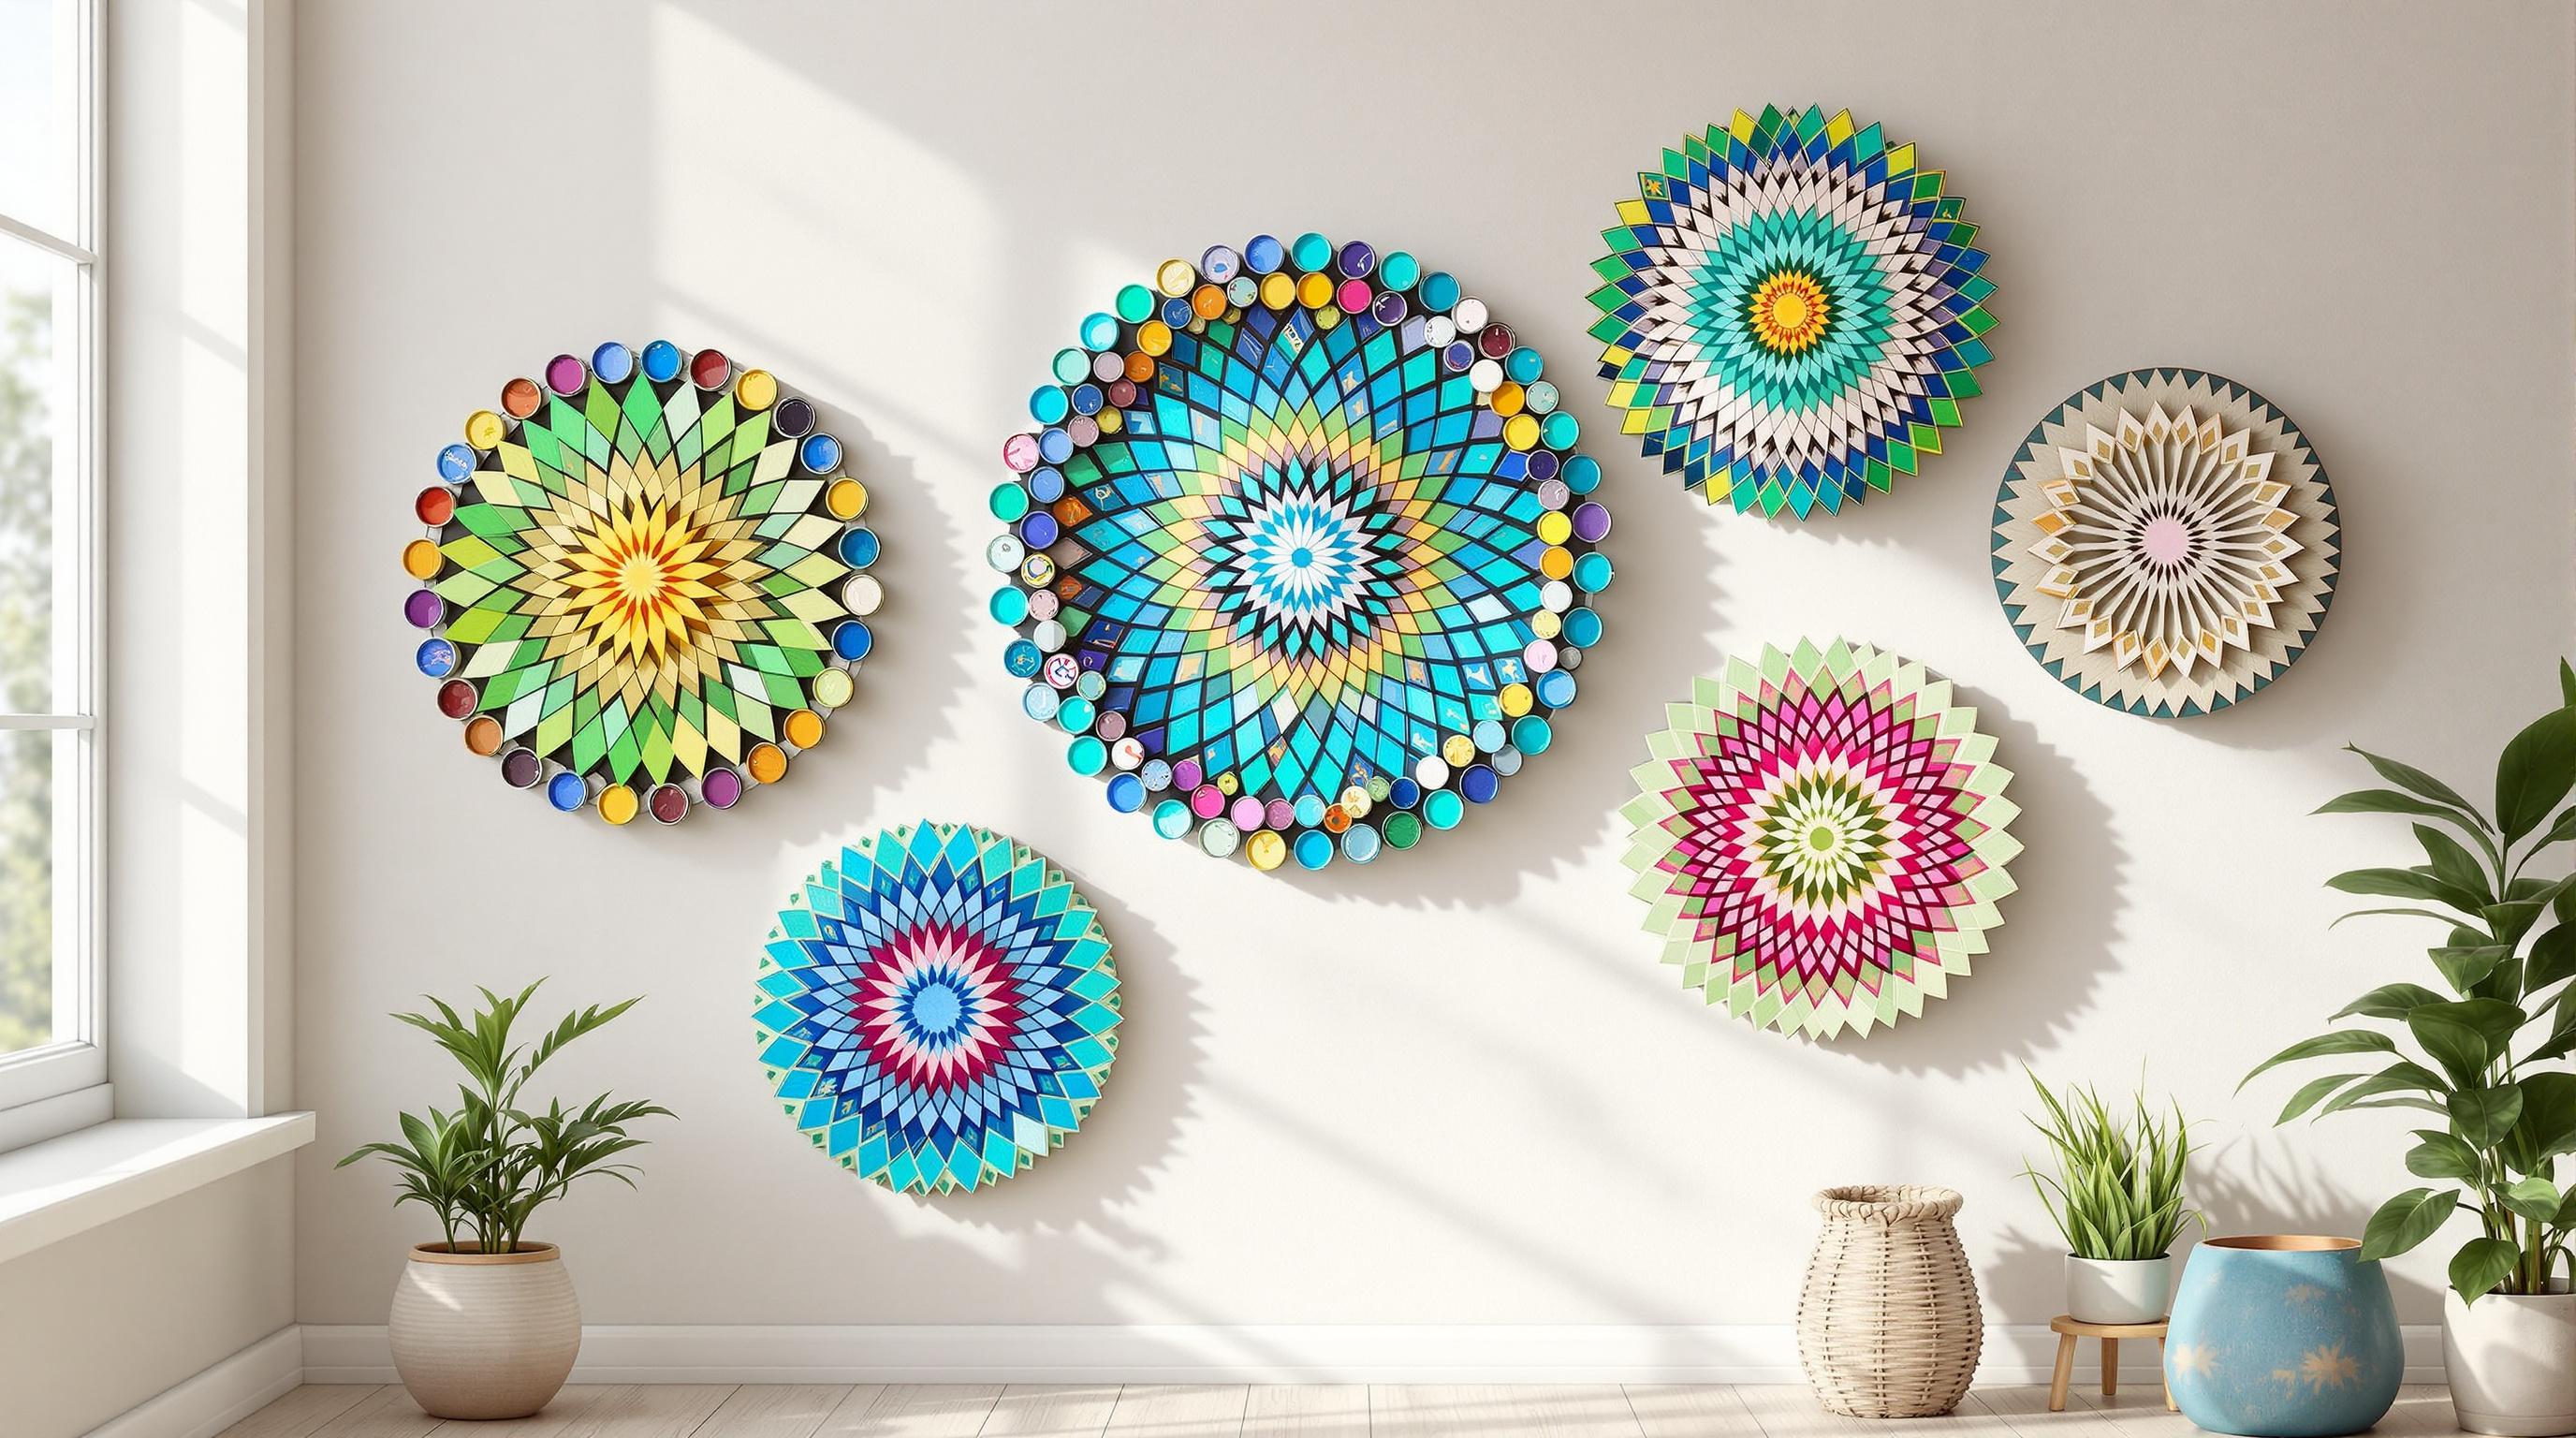
Recycled Paper Mandala Wall Art Decoration
1. Old Furniture Panel Mandalas
Turn old furniture panels into eye-catching mandala wall art. Cabinet doors, table tops, or headboards can serve as perfect canvases for your designs, giving these items a second life while adding a personal touch to your space.
Choosing the Right Panel
Pick a sturdy, flat panel with a smooth surface. Avoid pieces with deep grooves or heavy textures, as they can interfere with your design work[1][3].
Getting Your Panel Ready
- Wash the panel with soap and water to remove dirt and grime.
- Sand the surface, starting with coarse sandpaper and finishing with fine-grit for smoothness.
- Apply a primer suited to the material and allow it to dry completely.
Designing Your Mandala
Use a compass or a string-and-pin method to draw precise circles starting from the center. If you're new to mandalas, sketch simple geometric shapes first. For more elaborate designs, layer patterns and use dotting tools. To keep your design balanced, work on opposite sections at the same time.
Sealing and Hanging
Apply 2-3 coats of clear acrylic sealer to protect your finished piece. For hanging, use D-rings or French cleats, depending on the weight of the panel[1][3].
Tips for Success:
- Work in a well-lit area to see details clearly.
- Keep the panel flat to avoid paint drips.
- Use painter's tape for clean, sharp edges.
- Let each layer dry completely before adding the next.
This method works best on solid surfaces, but if you're looking for something with more texture, the next approach might be just what you need.
2. Used Fabric Wall Art
Turn old fabrics into eye-catching mandala wall art. This approach not only adds texture to your decor but also gives a second life to discarded textiles.
Picking the Right Fabric
Look for sturdy fabrics with little to no stretch, such as cotton, linen, or denim. Old bedsheets, tablecloths, or jeans work well for this purpose[3][9].
Getting Started
Before diving into your project, make sure to:
- Wash and iron your fabric to remove wrinkles and dirt.
- Use interfacing to stiffen thinner fabrics.
- Cut the fabric to your desired size and hem the edges or use a stabilizer for clean lines.
Design Methods
Bring your mandala idea to life with these techniques:
| Technique | Tools You'll Need |
|---|---|
| Fabric Paint | Fabric paint, stencils |
| Embroidery | Embroidery hoops, thread |
| Appliqué | Fabric scraps, scissors |
| Tie-dye | Dyes, rubber bands |
For a natural and eco-friendly touch, try dyes made from household items like turmeric for yellow, beetroot for pink, or indigo for blue[7].
Displaying Your Artwork
Choose a display style that matches your home:
- Mount it in an embroidery hoop for a traditional vibe.
- Stretch it across a canvas frame for a sleek, modern look.
- Hang it from a wooden dowel for a boho feel.
- Add LED backlighting to create a floating effect[5].
Keeping It in Great Shape
To ensure your fabric mandala lasts:
- Spray it with a fabric protector.
- Keep it out of direct sunlight.
- Frame it behind glass for added protection[10].
Beginners can start with basic geometric patterns using fabric markers[3]. If you're combining fabric scraps, stick to a cohesive color palette and layer textures thoughtfully for a polished result[6].
3. Scrap Metal Mandalas
Turn scrap metal into eye-catching wall art that blends an industrial vibe with symmetrical beauty. Unlike fabric mandalas, which offer soft textures, metal provides a bold contrast with its rugged appearance. Plus, it’s a great way to reuse materials that might otherwise be thrown away[1][2].
Choosing Your Materials
Here are some excellent metal options for crafting mandalas[1][4]:
- Flattened soda cans
- Old cookie tins
- Discarded metal roofing sheets
- Copper wire from electrical components
Essential Tools
| Tool | Purpose |
|---|---|
| Cutting Tools | Metal snips, shears |
| Shaping Tools | Pliers, hammer, punch |
| Safety Equipment | Heavy-duty gloves, goggles |
| Finishing Tools | Sandpaper, wire brush |
| Assembly Items | Strong adhesive or welding gear |
Working with Metal Safely
Safety comes first when handling sharp or heavy metal pieces. Always work in a ventilated space, wear protective gloves and goggles, and file down any sharp edges. Also, make sure your tetanus shot is up-to-date[11].
Techniques for Intricate Patterns
Bring your design to life with these methods:
- Use metal snips to cut precise shapes
- Add texture through punching or embossing
- Layer different metals for depth
- Weave thin wires for delicate details
- Etch patterns using metal-safe solutions[5]
Color and Texture Tips
Combine metals like copper and brass for a warm look, or experiment with patinas and polishing to create striking contrasts[12].
Mounting Ideas
Secure your mandala with welded frames, magnetic plates, or floating standoffs for a polished finish[7].
Protection and Maintenance
To keep your mandala looking sharp, apply a clear acrylic sealant or lacquer spray. Regular dusting and reapplying the sealant occasionally will help preserve its appearance[13].
Plan Your Design
Sketch out your ideas or use digital templates before cutting to ensure accuracy and avoid wasting materials[8].
If industrial materials aren’t your style, the next section explores how to turn paper scraps into beautiful mandalas. Stay tuned!
4. Old Book Page Designs
Turn worn-out books into stunning mandala wall art, breathing new life into forgotten pages. This method blends paper crafting with mandala art, offering intricate designs that retain the charm of aged paper. It also complements the fabric techniques from Section 2 by allowing for precise text integration.
Selecting the Right Books
Look for books with yellowed or aged pages to achieve a vintage aesthetic. Hardcover books with thick, durable pages work best for crafting. Consider poetry books, old encyclopedias, or outdated textbooks, as their varied text layouts provide interesting design options[1].
Essential Materials
| Essentials | Optional Enhancements |
|---|---|
| Sharp scissors or precision knife | Acrylic paint or watercolors |
| Circle cutter or compass | Metallic pens |
| Craft glue or mod podge | Small beads |
| Paintbrush | Clear sealant spray |
| Sturdy backing material | Metallic accents (pens or leafing) |
Crafting Your Book Page Mandala
Carefully remove pages using a craft knife to keep them intact. For added depth, layer multiple pages, similar to the technique used for metal mandalas in Section 3[2].
Adding Color and Dimension
Introduce color subtly to enhance your design without overpowering the text. Watercolors are ideal for creating soft washes that allow the text to remain visible. For extra depth, try these ideas:
- Apply tinted mod podge for a gentle hue.
- Use layered cut-out patterns for a 3D effect.
Incorporating Text into the Design
Make the book's content part of your artwork by strategically placing words or phrases. Highlight key text by cutting around it, or arrange passages - especially from poetry books - into patterns that align with the mandala's theme[4].
Protecting and Displaying Your Artwork
Seal your finished piece with an acid-free spray to keep it intact over time[11].
Finishing Details
Use a bone folder for precise folds, and make slow, steady cuts for clean edges. Adding negative space can elevate the sophistication of your design[8].
Next, we’ll explore how to craft mandalas from reclaimed wood, offering another way to achieve a timeless, rustic look.
sbb-itb-b6c1dc0
5. Reclaimed Wood Patterns
Turn reclaimed wood into stunning mandalas by taking advantage of its natural grain and texture. Similar to the layered paper designs mentioned earlier, these wood mandalas achieve depth through careful stacking.
Choosing the Right Wood
Look for wood pieces that meet these criteria:
- Flat and stable for easier stacking
- Minimal rot or damage
- Uniform thickness for smooth layering
- Distinct grain patterns for visual appeal
Tools and Materials You'll Need
| Tools | Safety Gear | Finishes |
|---|---|---|
| Circular saw/jigsaw | Safety goggles | Wood stains |
| Sandpaper (80-220 grit) | Dust mask | Natural oils |
| Wood glue and clamps | Work gloves | Clear sealant |
| Measuring tape | Ear protection | Paint brushes |
| Pencil and compass | Mounting hardware |
Designing Your Mandala
Begin with a central point and build outward in circular layers. The natural wood grain adds a unique texture, and mixing wood tones - like pairing light pine with dark oak - can create eye-catching contrasts.
Advanced Techniques to Try
Take your design to the next level with these methods:
- Layering: Stack pieces at different heights for a 3D effect.
- Texture Variety: Combine smooth, sanded sections with naturally weathered areas.
- Grain Highlighting: Use stains to emphasize the wood's natural patterns.
Add Lighting for a Dramatic Effect
Incorporate LED strips between the layers to cast striking shadows and add depth to your piece.
Finishing Touches
Use natural oil finishes to bring out the wood's beauty while protecting it. For outdoor or sunlit installations, apply a UV-protective clear coat to prevent fading[10].
Pro Tips
"Proper sanding and wood conditioning ensure longevity."
For heavier designs, use a sturdy plywood backing and weight-rated anchors to keep everything secure[6].
While wood offers a warm, organic feel, the next section explores how broken glass can add dazzling light and color effects.
6. Broken Glass Mosaics
Glass can bring a bright, sparkling touch to your art. By repurposing broken mirrors, colored bottles, or discarded glass, you can create stunning mandala wall art while giving new life to these materials.
Safety First
When working with broken glass, safety is key. Use heavy-duty gloves, safety goggles, and a dust mask to protect yourself from cuts and glass particles.
Gathering and Preparing Materials
Collect materials like broken mirrors, colored bottles, sea glass, or tiles. Clean them thoroughly and sort by color and size before starting your project.
Designing Your Mosaic
Begin with a solid base, like a wood or cement board. Use a compass to draw concentric circles and divide them into equal sections (typically 8 or 12) to help guide your design[11].
For a polished look:
- Start at the center and work outward.
- Mix different types of glass for contrast.
- Use contrasting colors to highlight sections of your pattern.
Assembly Tips
Apply adhesive to small areas at a time. Use tweezers to position the glass pieces carefully, starting from the center and moving outward.
Adding Depth
Give your design dimension by:
- Combining opaque and translucent glass.
- Adding glass beads at key points.
- Using smaller pieces for detailed sections.
- Layering elements to create a 3D effect[14].
Finishing Touches
Let the adhesive cure for 24 hours, then grout and seal your mosaic with a clear coat. If your piece will be displayed outdoors, apply a weather-resistant sealant once a year for protection[15].
Showcasing Your Mosaic
Place your glass mandala where it can catch and reflect light for maximum impact, much like the LED-enhanced wood designs mentioned in Section 5[15].
For simpler, flat designs, consider combining printed patterns with hand-painted details for a personalized touch.
7. Print and Paint Combinations
Broken glass can create stunning reflections (Section 6), but blending digital designs with hand-painted details opens up a whole new realm of creativity. This approach brings together the precision of modern technology with the charm of handcrafted artistry, building on the metalwork techniques discussed in Section 3.
Choosing Your Base Material
Start with smooth, flat surfaces like ceiling fan blades or sanded wood pieces for the best results.
Transfer Techniques
Here are a few ways to transfer your designs:
- Use image transfer gel to move printed designs onto surfaces.
- Opt for printer-based transfers for clean, accurate outlines.
- Use inkjet transfer paper for textile projects.
- Try screen printing for larger, bold designs.
- Experiment with block printing to add texture and character.
Paint Selection and Application
Choosing the right paint can make all the difference. Here's a quick guide:
| Surface | Paint Type | Benefit |
|---|---|---|
| Wood | Chalk Paint | Smooth matte finish |
| Metal | Enamel Paint | Long-lasting durability |
| Fabric | Fabric Paint | Maintains flexibility |
Creating Depth and Dimension
Once your printed design is in place, add layers and details to make it pop. Consider:
- Using contrasting colors for a striking effect.
- Applying dotting techniques for intricate patterns.
- Adding see-through paint layers to create a sense of depth.
Protection and Preservation
To ensure your work lasts, finish with the right protective measures:
- Use indoor acrylic sealer for general protection.
- For fabric designs, iron the surface to set the colors.
- Mix in fabric medium for textile projects to improve durability.
- Seal wooden pieces with polyurethane for a polished, lasting finish.
Eco-Friendly Practices
Keep sustainability in mind by:
- Choosing environmentally safe printing materials.
- Using sealants and finishes that are eco-conscious.
This method combines the eco-friendly principles highlighted earlier with the creativity of digital designs. For an easy starting point, Blululi's downloadable mandala patterns are a great match for this technique, especially when working with upcycled materials. Their designs are versatile and perfect for experimenting with this hybrid approach.
Making and Protecting Your Art
Preserve your upcycled mandalas by focusing on the right finishing and display methods. These steps help turn a temporary craft into a long-lasting piece of art.
Building on the techniques you've used in earlier projects, keep these key preservation practices in mind:
Paint Application Techniques
Choose paints that work well with the texture of your material. Use small brushes or dotting tools to apply detailed layers. This technique gives you more control and helps create sharp, clean lines in your mandala designs.
Protection and Sealing
Apply 2-3 thin coats of a protectant suited for your material. Sand lightly between layers if needed [3]. Using thin, even coats prevents bubbling and ensures smooth, consistent coverage.
Display Environment Considerations
Select durable finishes to extend the life of your artwork, reducing waste in the process. Think about where your piece will be displayed - make sure the protective finish you choose can handle the moisture levels and ventilation of the space.
Conclusion
From furniture panels to glass mosaics, these seven approaches highlight how various materials can be turned into eye-catching mandala art. These projects combine reducing waste with mindful creativity, showing that artistry and eco-consciousness can go hand in hand.
As discussed in Sections 1-7, each creation becomes one-of-a-kind due to the natural differences in materials. For example, the print-and-paint techniques in Section 7, paired with Blululi's templates, provide a helpful way to stay inspired while working with reclaimed materials. Their collection of mandala designs serves as a flexible starting point to simplify your creative process.