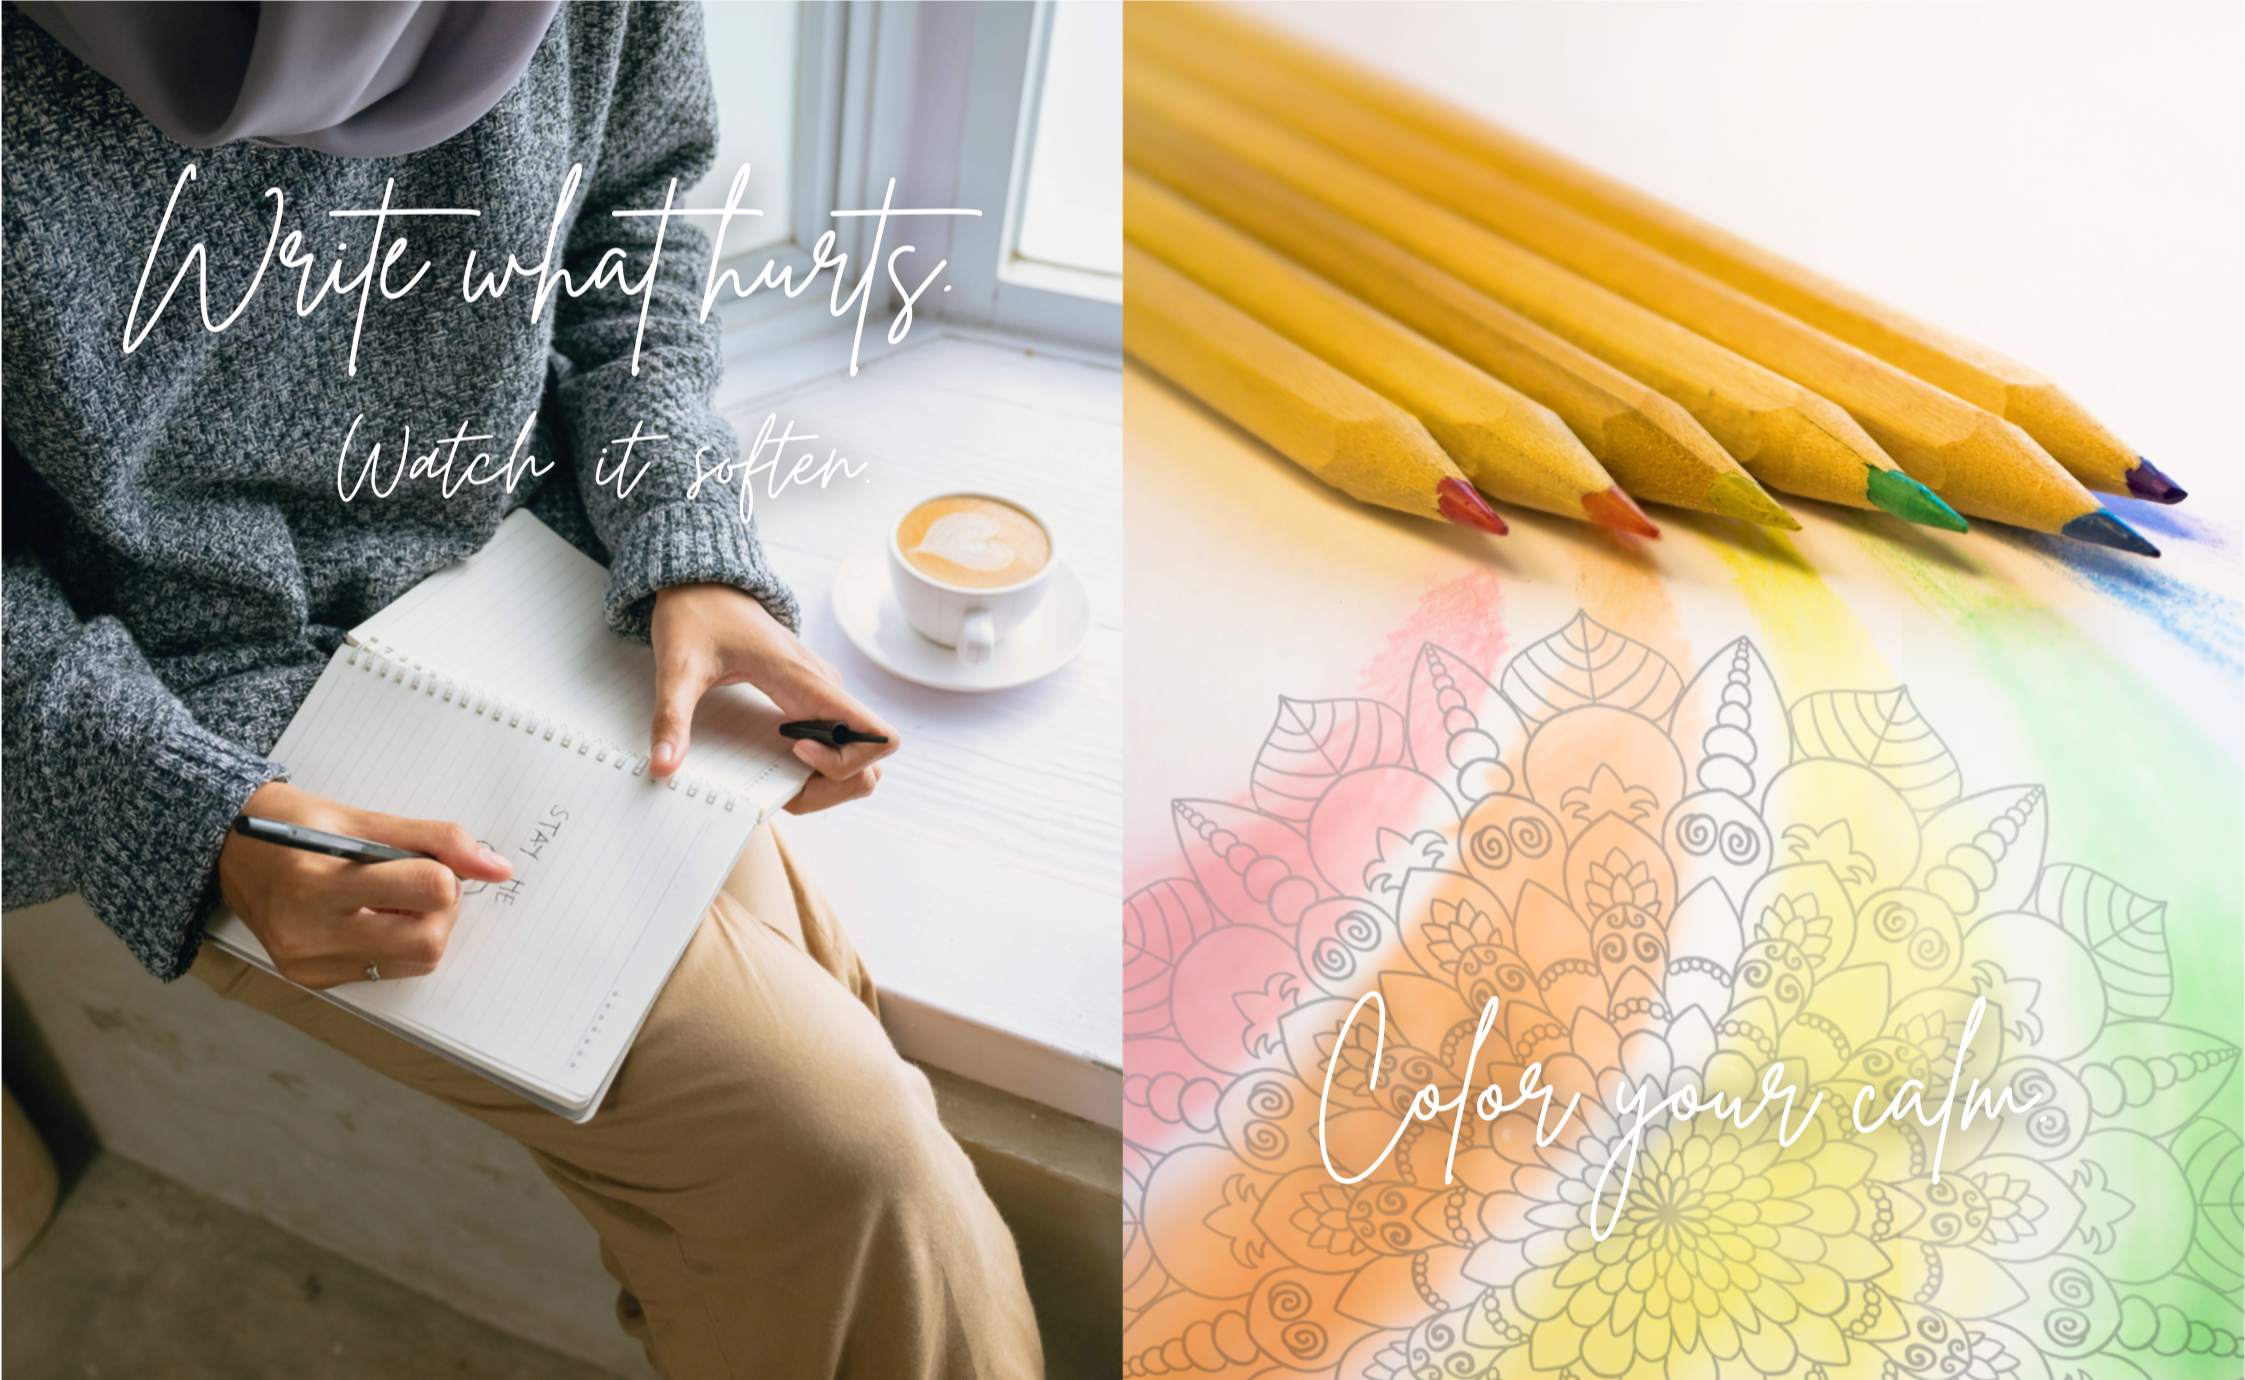
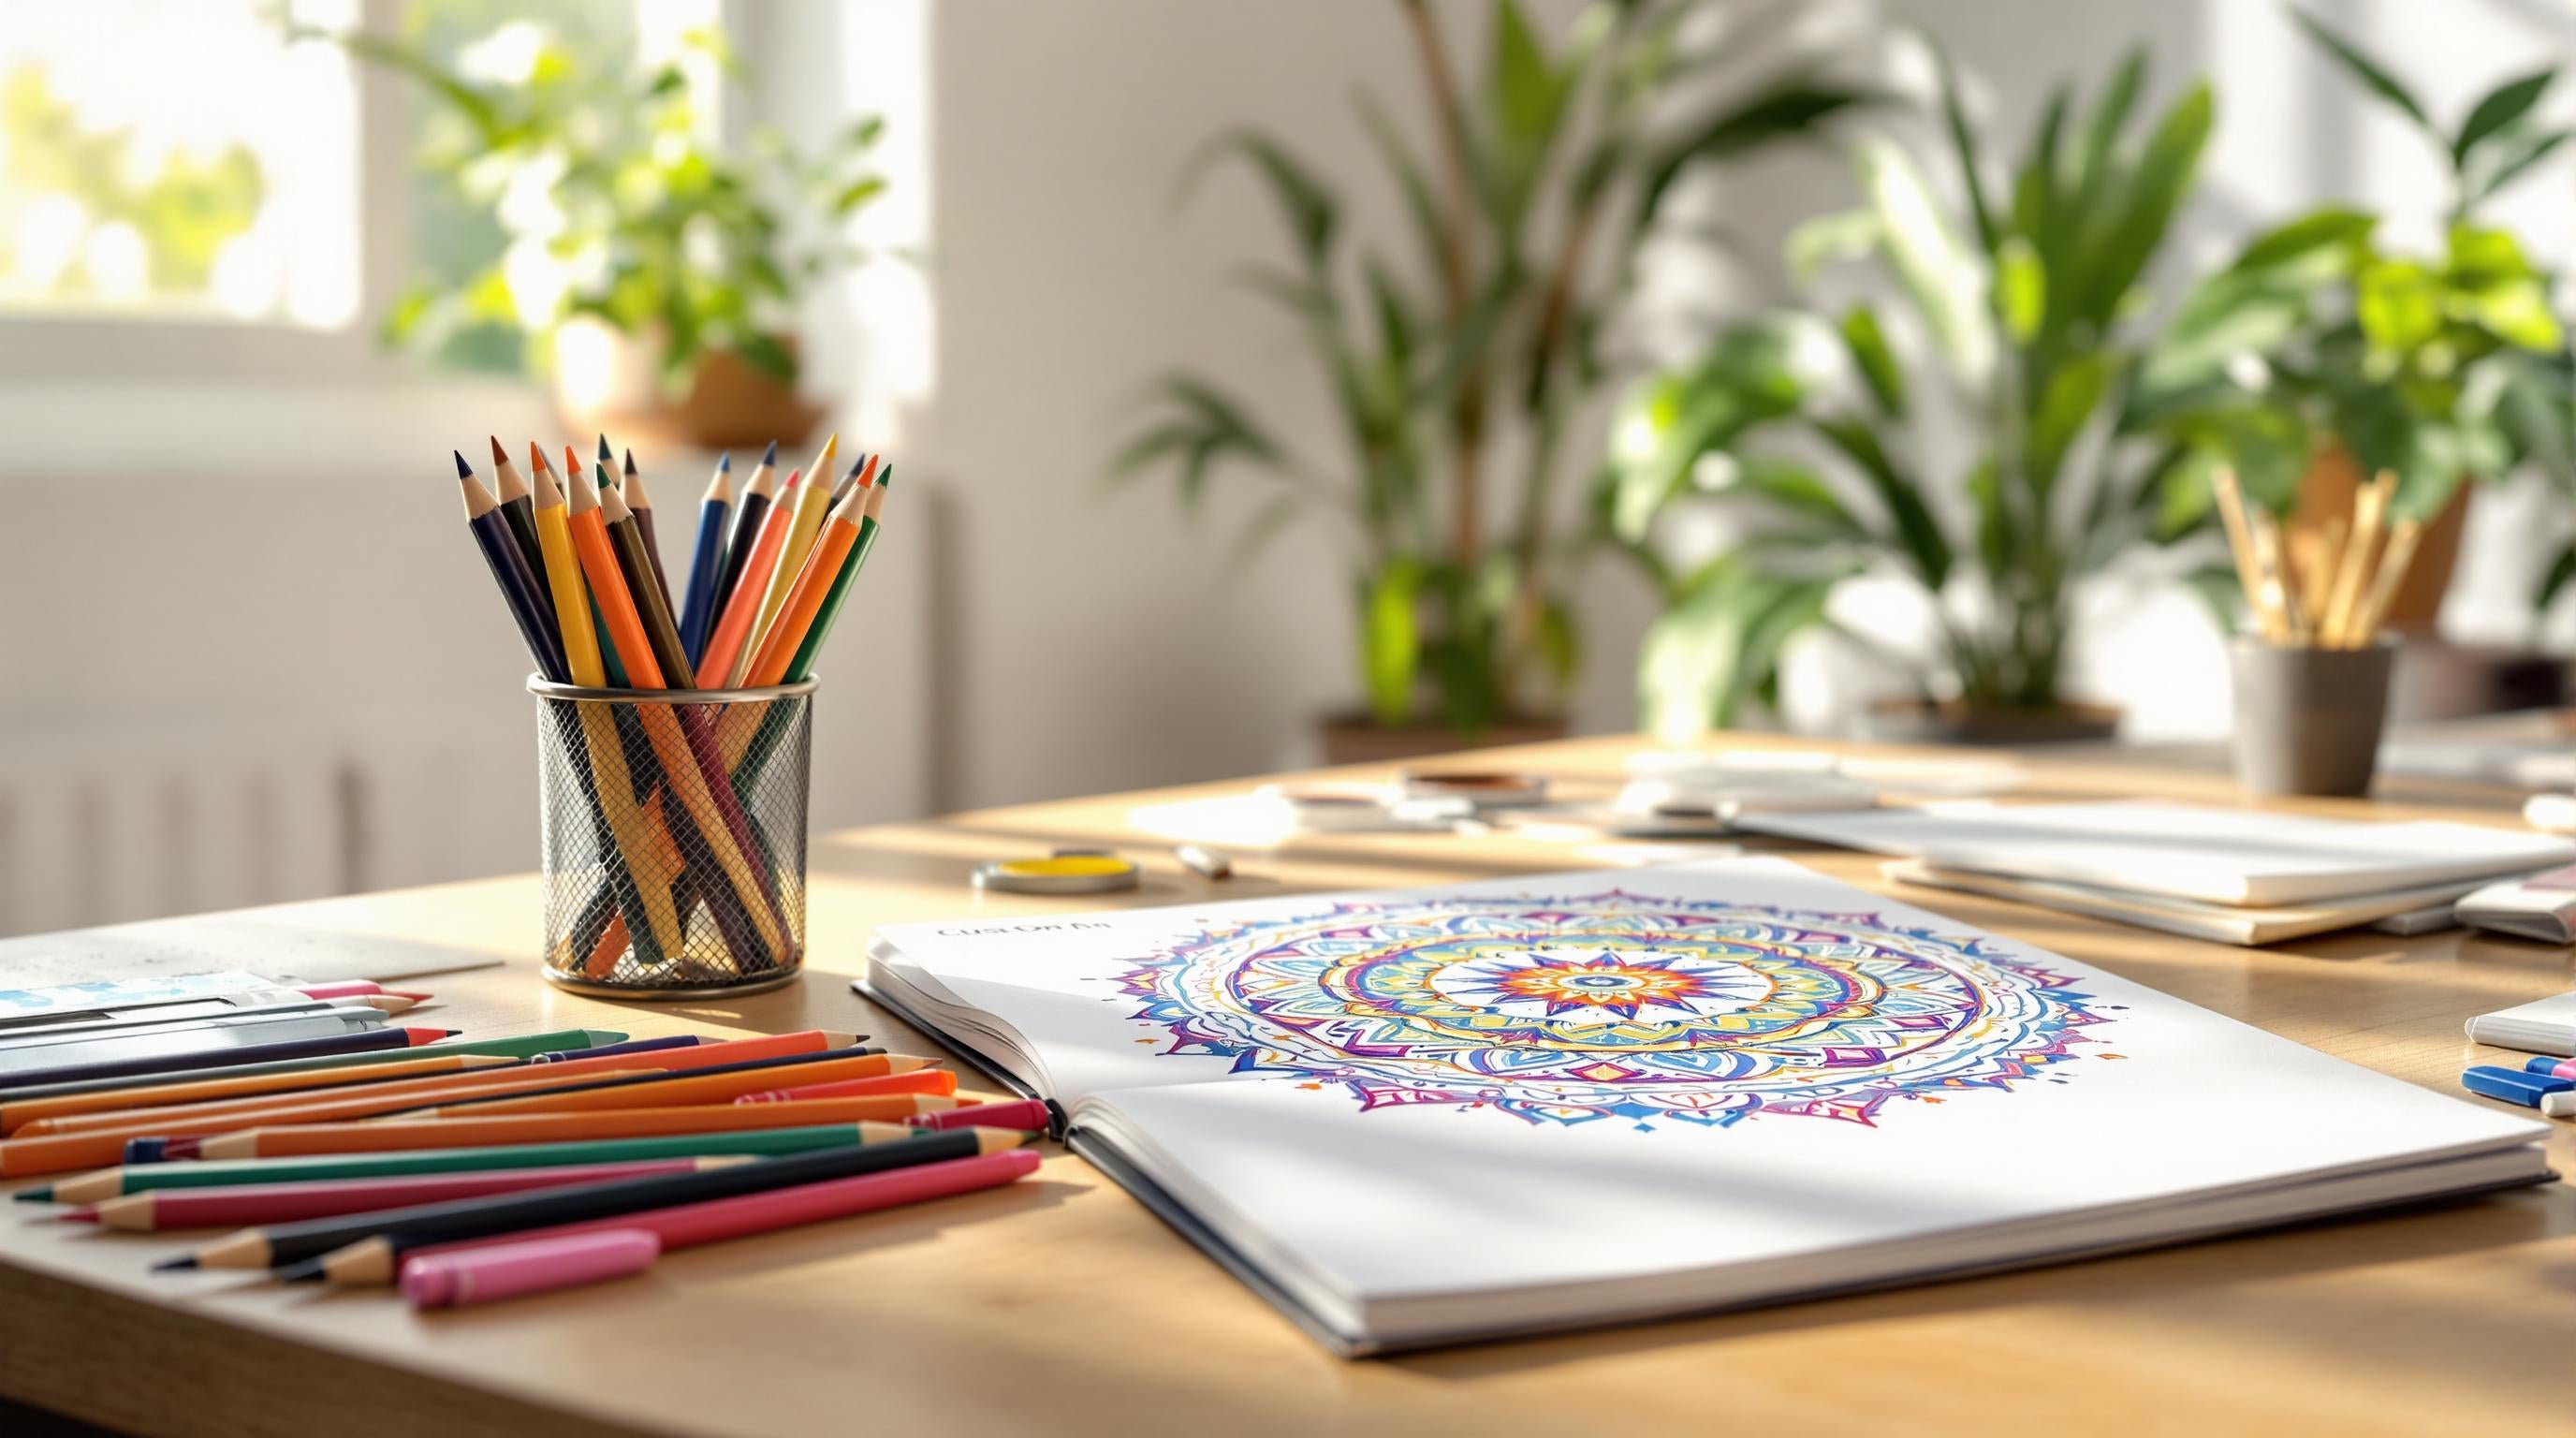
Custom mandala designs are personalized circular patterns that blend art and meaning. They often include symbols like initials, important dates, or cultural elements, making each piece unique to the owner. These designs can be hand-drawn for a natural touch or created digitally for precision. Here’s what you should know:
- Why Choose Custom Mandalas? They combine decoration with mindfulness, helping with stress, grief, or goal-setting.
- Creation Tools: Use compasses, fine-line pens, or apps like Amaziograph for symmetry. Canva Pro is great for templates.
- Design Options: Add personal touches like birth flowers or mathematical patterns while maintaining symmetry.
- Usage Ideas: Perfect for wall art, yoga mats, or even acoustic panels. Opt for durable materials like archival inks or pre-treated fabrics.
- Challenges & Fixes: Use tools like dot grids for symmetry and apply UV-resistant finishes for long-lasting designs.
Custom mandalas are versatile, meaningful, and practical, whether for personal use or home decor.
Full Mandala Process Video - Digital and Hand drawn
How to Create Custom Mandalas
Crafting custom mandalas blends precision with creativity, resulting in designs that are both meaningful and visually appealing.
Tools and Equipment
To create precise circles, adjustable compasses (1.5"-3" radius) are essential [3]. Fine-line pens with tips ranging from 0.1mm to 0.5mm ensure detailed work [3][7]. Pre-printed grid templates help maintain proper proportions throughout the design.
For digital designs, specialized software makes a big difference. Amaziograph is widely used for tattoo designs, offering automatic mirroring across 6-12 sections [5]. For wall art and other decorative projects, Canva Pro ($12.99/month) provides a wide range of templates and user-friendly tools [4].
Design Options
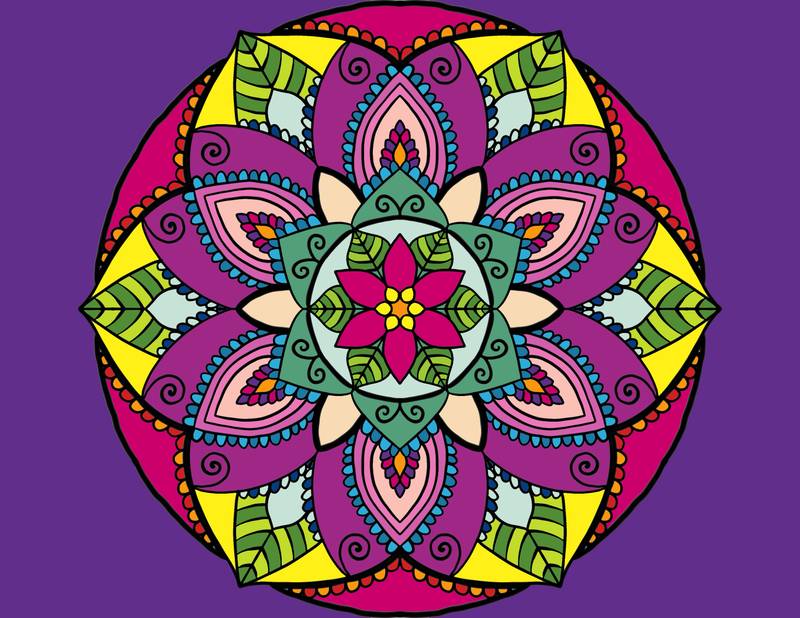
Custom mandalas allow for a high level of personalization while adhering to geometric principles. These designs often incorporate personal symbolism, maintaining balance and harmony through radial symmetry [8]. Popular customization options include:
- Birth flowers: These can be transformed into petal-like motifs, adding a personal touch without disrupting the overall design [1].
- Mathematical elements: Concepts like the golden ratio or π can be subtly integrated into spiral patterns for added depth and meaning [8].
Hand-Drawn vs. Digital Methods
Choosing between hand-drawn and digital methods affects both the process and the final result. Hand-drawn mandalas, especially complex A3 designs, can take 8-12 hours to complete [7]. In contrast, digital tools with symmetry features can cut the time down to 2-4 hours, allowing for quick edits [5].
Each method has its own quality control steps. Hand-drawn designs require careful checks with a protractor for each quadrant. Digital designs rely on layer comparisons and instant corrections, but they must meet specific resolution standards:
- Wall decals: 300 DPI in CMYK color mode
- Tattoo stencils: 600 DPI in grayscale
- Screen printing: 1200 DPI with spot colors [4][5]
Many artists combine both approaches. Scanning hand-drawn sketches for digital enhancement can save up to 30% of production time, while still retaining the organic texture of the original design [8].
Using Custom Mandalas
Home Decoration Ideas
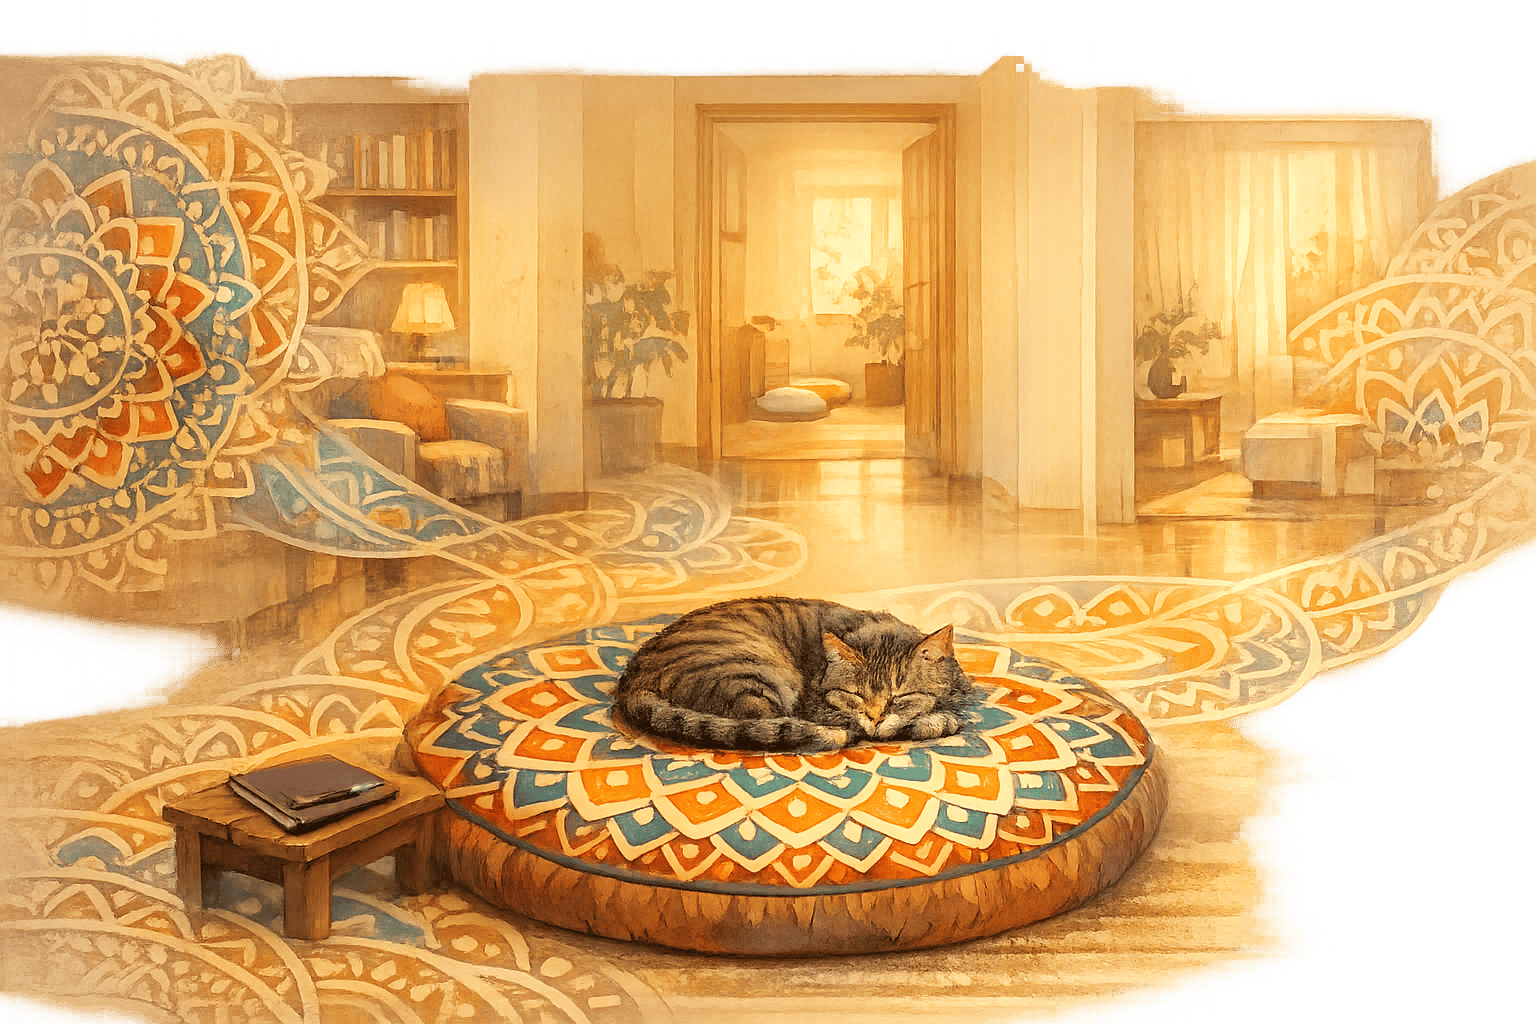
Custom mandalas can bring a personal touch to home decor. For example, mandala acoustic panels combine noise reduction with personalized designs, letting you integrate meaningful symbols into practical home solutions [3]. If you're looking for flexibility, vinyl wall decals with repositionable mandala patterns are a great option. These allow you to switch up your decor for different seasons without making a permanent change [4][9].
Personal Items
Mandalas aren't just for yoga mats - they work beautifully on other personal items too. To ensure fabric durability, choose pre-treated materials that help preserve the mandala designs over time [9]. For clothing, simpler mandala patterns are ideal for areas that stretch, like elbows or knees, to maintain the design's integrity [7].
For yoga mats, sublimation printing on polyester is a solid choice. It keeps the design vibrant while preserving the mat's grip texture. Just make sure the mandala placement doesn't interfere with the mat's functionality [5].
Printable Designs
When creating mandala designs for print, paying attention to technical details is crucial for quality results:
- Use 300 DPI resolution for crisp, clear prints [6].
- Stick to 0.5pt line weights to maintain design clarity [6].
- Add 1/8" white borders to avoid print bleeding [7].
Save your designs in vector PDF formats to ensure they scale well for different print sizes. For items like planners and calendars, use subtle shading to keep text legible when placed over the mandala patterns [4][9].
sbb-itb-b6c1dc0
Common Design Problems and Fixes
Creating custom mandalas allows for plenty of artistic expression, but it’s not without its challenges. Here’s how professionals tackle some common issues:
Pattern Correction
Symmetry can be tricky when designing mandalas. One effective approach is the dot grid method, which involves marking reference points at 1.5-inch intervals to maintain consistency [6][7]. For hand-drawn designs, precision tools can make all the difference. A mandala kit - complete with compasses and protractors - can help fix uneven sections with ease [3].
These tools and techniques ensure your designs stay polished and symmetrical.
Quality Control
Keeping your mandala design visually striking and long-lasting requires attention to materials and finishing touches. For outdoor installations, ceramic tiles are a solid choice, retaining up to 95% of their color vibrancy [3]. On canvas, applying Golden MSA Varnish offers UV protection to preserve your work [5].
For digital designs, follow these standards for the best results:
- Use UV-resistant archival inks for longevity [4].
- Apply 3M laminate for durable wall decals [5].
- Rely on professional color-matching tools for accurate reproduction.
When resizing digital designs, stick to vector files or use Photoshop’s bicubic scaling method, limiting adjustments to 150% per step [4][5]. These practices help maintain both the quality and meaning of your mandalas over time.
Design Guidelines
Creating custom mandalas involves balancing artistic vision with ethical responsibility. Designers need to merge creativity with respect for cultural symbols and intellectual property.
Symbol Usage
When incorporating cultural symbols, it’s important to consider their meaning and context. For instance, the lotus, a key motif in Buddhist mandalas, symbolizes purity and should not be used lightly [9]. Thoughtful use of such elements not only enriches the mandala's personal significance but also preserves its meditative essence.
Here are some guidelines for using symbols responsibly:
- Conduct thorough research on cultural and religious elements.
- Seek permission for any motifs that are protected or sacred.
- Keep detailed records of your sources of inspiration.
Instead of using sacred patterns that are not open for public use, focus on creating your own geometric designs. This ensures your work respects cultural boundaries while staying original.
Design Rights
Artists maintain full copyright over their creations unless they explicitly transfer those rights. Commercial licenses should outline specific usage terms, especially when AI-assisted tools are involved. Transparency about AI contributions is essential [12].
To protect your work, consider these steps:
- Register your copyright.
- Use embedded watermarks.
- Include clear ownership markers (e.g., ©ArtistName 2025) [11].
For commercial projects, licensing agreements should clearly define usage rights. This clarity allows clients to customize designs without worrying about legal issues [10]. If AI tools are part of the process, make it clear by including "AI-assisted design" disclaimers in product descriptions and documenting the contributions of both human and AI inputs.
Getting Started with Custom Mandalas
Main Points
Custom mandala creation combines artistic expression with mindfulness, offering a calming and focused activity. Research suggests that regularly creating mandalas can help lower stress and improve concentration [2].
Experts suggest starting with simple geometric designs before moving on to more intricate, symbolic patterns. Carol Michalicek notes that adding personalized elements within the circular framework can have the strongest therapeutic effects [2]. This gradual shift from basic shapes to personal symbolism ties into the design principles discussed earlier.
The time required for creating mandalas depends on the method you choose:
- Hand-drawn: 2–3 hours
- Digital: Around 1 hour
- Commissioned: 6–8 weeks
How to Begin
To start creating mandalas, you’ll need to decide on tools and techniques. Here’s a quick guide:
| Traditional Tools | Digital Alternatives |
|---|---|
| Compass & Ruler | Amaziograph App |
| High-quality drawing paper | Canva Pro |
| Drawing pencils | Digital tablet |
If you’re new to this, try sketching with pencils first before exploring digital tools. Apps like Amaziograph and platforms with pre-designed templates can help beginners ease into the process. Many of these services even offer refundable approvals to ensure designs stay true to your personal vision.
To avoid common pitfalls, focus on keeping your spacing even and start with straightforward designs. Once you’re comfortable, you can incorporate meaningful symbols, as outlined in our Symbol Usage guidelines.
Using high-quality, archival tools is key to preserving your designs. This ensures your work remains intact over time and helps reduce frustration as you build your skills.
FAQs
What is the rule for creating mandalas?
The main idea is to build from the center outward, using evenly spaced radial divisions. This structure allows for personal touches while keeping the meditative quality of the mandala intact, as outlined in our Symbol Usage guidelines.
For hand-drawn mandalas, start by drawing concentric circles from a central point. Then, use a protractor to divide the design into 6-12 equal sections [6][7]. This gives you a framework for repeating patterns.
If you're working digitally, symmetry tools can make it easier to replicate patterns. However, the creative process should feel organic, letting you incorporate personal symbols as mentioned in the Design Options section.