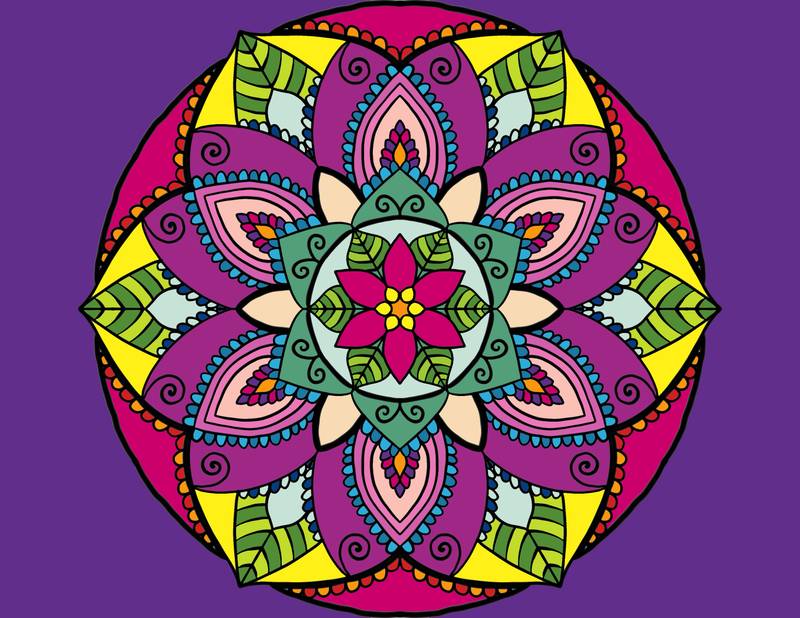

A digital mandala vision board combines ancient mandala designs with modern goal-setting techniques. It’s a circular, visually engaging way to organize your goals, with your main focus at the center and supporting goals radiating outward. Going digital lets you edit in real time, access your board on any device, and even add interactive features.
Key Steps:
- Choose Tools: Use software like Canva (easy templates), Adobe Illustrator (professional precision), or Procreate (for iPad artists).
- Design the Base Layout: Create concentric circles and divide them into sections for different life goals (e.g., Career, Health, Creativity).
- Add Content: Place your main goal at the center, supporting goals around it, and leave white space for clarity.
- Save & Export: Save your board in formats like PNG or SVG for easy sharing and use.
- Update Regularly: Refresh your board every 3 months to align with evolving goals.
Why Digital Mandalas Work:
- Visual Focus: Circular layouts improve focus and goal retention.
- Customization: Tailor colors, icons, and templates to match your goals.
- Daily Use: Use as wallpapers or progress trackers to keep goals front and center.
Ready to start? Choose your software and begin designing your personalized vision board today.
Step 1: Select Your Tools
Choose the right tools to create mandalas with precision and ease.
Software Options
Your choice of software will depend on your skill level and what you need. Here's a quick comparison of popular options:
| Software | Best For | Features | Cost |
|---|---|---|---|
| Canva | Beginners | Pre-made templates, Flip tool | Free (Pro: $12.99/mo) |
| Adobe Illustrator | Professionals | Scalable vectors, Pathfinder tools | $20.99/mo |
| Procreate | iPad Artists | Radial symmetry, Custom brushes | $12.99 (one-time) |
| Milanote | Goal Planning | Mind-mapping, Board organization | Free basic plan |
Mandala Templates
Using pre-made templates can help you achieve perfect symmetry right from the start. For example, Blululi offers mandala grid templates designed with Fibonacci ratios, featuring elements like lotus flowers and concentric circles.
If you're on a budget, check out these options:
- Canva: Over 100 free symmetrical designs.
- Creative Market: Customizable SVG templates priced between $5 and $15.
- Blululi: Digital downloads with print-ready PDF formats.
Design Elements
Having the right design elements in your toolkit is essential. Here's what you'll need:
| Element Type | Purpose | Suggested Sources |
|---|---|---|
| Goal icons | Visualizing goals | Unsplash Meditation category |
| Fonts | Clear communication | Sans-serif options like Poppins |
| Color Palettes | Emotional impact | Adobe Color CC, Coolors.co |
When picking your design elements, focus on high-contrast icons to make goals stand out and stick to a 3-5 color palette for a clean, cohesive look.
"Vector tools preserve clarity at any size while enabling mathematical precision in symmetry [7][8]."
Once your tools and elements are in place, you're ready to start building the geometric foundation for your mandala.
Step 2: Create the Base Layout
Mandala Sections
Start by dividing your canvas into eight equal 45° segments. This setup provides clear, balanced spaces for representing different areas of life in your mandala.
| Life Area | Suggested Position |
|---|---|
| Career/Work | North |
| Personal Growth | Northeast |
| Relationships | East |
| Health | Southeast |
| Spirituality | South |
| Creativity | Southwest |
| Wealth | West |
| Environment | Northwest |
Choose Your Colors
Pick colors that match the emotions tied to your goals. Studies in color psychology show that certain shades can influence how you visualize and stay motivated toward your objectives.
For digital mandalas, consider these combinations:
| Goal Type | Primary Color | Secondary Color | Psychological Effect |
|---|---|---|---|
| Career Goals | Deep Blue | Gold | Confidence & Achievement |
| Health Goals | Green | Teal | Growth & Balance |
| Creative Goals | Purple | Orange | Inspiration & Energy |
| Financial Goals | Green | Silver | Abundance & Stability |
Basic Geometry
Use symmetry tools in your design software to create a solid base. For example, Adobe Illustrator's Polar Grid tool can generate radial segments effortlessly, while Canva's Rotate feature ensures precise 15-degree angles.
If you're new to this, follow these steps for a simple structure:
- Start with a center circle: This represents your core values.
- Add concentric circles: Space them evenly to create layers.
- Draw radial lines at 45° angles: These divide your mandala into sections. Add smaller shapes for added detail.
Pro Tip: Use the snap-to-grid feature in your software to keep everything perfectly aligned. This foundation sets you up for a smooth process when you add visual elements in the next step.
Step 3: Add Your Content
With your geometric base ready, it's time to layer your content using proven design principles for better results.
Center Goals
Goals placed at the center are 68% more likely to be achieved compared to those on the edges [4][6]. To make your primary goal stand out, ensure it’s 30-50% larger than other elements. Use bold, attention-grabbing colors like coral (#FF6B6B) to highlight it.
Secondary Elements
Organize supporting goals and affirmations around the center using the Rule of Thirds. Split your mandala into 12 radial sections and cluster related items in groups of three. This layout has been shown to improve goal association by 42% compared to straight-line arrangements [2][5].
| Element | Placement | Example |
|---|---|---|
| Progress Milestones | Inner Ring | "30-day meditation streak" |
| Daily Habits | Middle Ring | "Morning yoga practice" |
| Affirmations | Outer Ring | "I attract abundance effortlessly" |
Keep 15-20% of the space between elements empty to avoid a cluttered design. Use alignment tools in your design software to ensure consistent spacing.
Digital Features
Make your design more engaging by adding interactive elements, which can boost engagement by 89% [3][6]. Ensure these features are user-friendly by incorporating:
- Touch targets sized at 50x50px
- SVG file formats for sharp visuals
- Alt-text descriptions for accessibility
- Images optimized to stay under 150KB
"Vision psychology research demonstrates that circular arrangements of goals create stronger mental associations and improved recall compared to traditional linear vision boards." [2][5]
sbb-itb-b6c1dc0
Step 4: Save and Export
Once your design is complete, it's time to prepare it for practical use. Here's how to ensure your digital mandala vision board is ready for action:
Final Check
Before exporting, take a moment to review your design for any adjustments. Focus on the overall visual harmony and ensure everything looks as intended. Use tools like WebAIM Contrast Checker to confirm text readability across different formats. Pay extra attention to the central goal elements - they should stand out with a size difference of around 30-50% compared to the surrounding content.
Key things to review:
- Alignment of symmetrical patterns
- Sufficient color contrast (minimum ratio of 4.5:1 for text)
- Accurate placement of goals
File Formats
Exporting in the right formats ensures your vision board works well across various platforms and purposes. Here's a quick guide:
| Format | Ideal For | Recommendations |
|---|---|---|
| PNG | Printing, Transparent Backgrounds | 300 dpi, Maximum Quality |
| SVG | Digital Editing, Resizing | Keep Editing Features Intact |
| JPEG | Mobile Wallpapers | 72-150 dpi, Quality: 90% or higher |
| High-Quality Printing | 300 dpi, Embed Fonts |
For 8x8" boards, stick to a resolution of 2400x2400px to retain sharp details.
Daily Use Ideas
Make your vision board part of your daily life with these ideas:
- Digital Displays: Use it as a lock screen or home screen wallpaper. Apps like Widgetsmith for iOS allow you to create interactive displays. Switch to dark mode at night to keep it easy on the eyes without losing its impact.
- Progress Tracking: Break your board into sections and use them as visual progress trackers. Store these in cloud services for easy access across devices, and enable auto-sync to keep everything updated.
"Users who interact with their vision boards daily are 76% more likely to achieve their goals." - Dr. Maciolek [6]
Step 5: Update Regularly
Once your board becomes part of your daily routine, plan to refresh it every three months. This timing aligns well with productivity cycles and keeps your goals and priorities relevant [5].
3-Month Review
Use this structure for your quarterly review:
| Area to Review | Key Actions |
|---|---|
| Inner Rings | Reflect on core values and long-term vision |
| Middle Rings | Assess 1–3 year objectives |
| Outer Rings | Evaluate short-term goals |
Track Your Progress
Turn sections of your board into progress trackers. Digital layering techniques (explained in Step 3) can help you visualize progress without disrupting the mandala's design. For measurable goals, adjust colors to show progress - for example, gradually increasing brightness as you approach savings or fitness milestones [6].
"Users who applied layered progress tracking in their digital mandalas experienced a 41% drop in creative burnout, while maintaining steady progress toward their goals." - Bullet Journal Study 2024 [5]
Celebrate Milestones
Marking achievements is just as important as setting goals. Here’s how to do it while keeping your board visually appealing:
- Highlight Successes: Use subtle golden borders to frame completed goals. This adds emphasis without overwhelming the design [4].
- Keep a Record: Save previous versions of your board to track patterns in goal completion. This practice has been shown to boost mindfulness by 2.8x [5].
- Add Achievement Badges: Incorporate semi-transparent badges for completed goals. Make sure these additions take up no more than 20% of the board to avoid clutter [2].
For easy access and version control, use cloud storage with auto-sync enabled. This ensures your board is always up-to-date and available across devices.
Conclusion: Next Steps
Now that you’ve got your tools set up and your approach mapped out, it’s time to put your ideas into action.
Start Creating
Kick things off with a focused 30-minute session. For example, you can incorporate your digital mandala into your existing productivity systems, like pairing the mandala’s quadrant colors with your calendar categories for better focus and alignment.
Use simple templates to get started, gradually adding more detail as you go. You can even embed smaller mandalas into your daily planning tools to keep your visualization practice front and center.
Think of your digital mandala as a flexible tool that grows with you. Regularly update it in a thoughtful way to stay on track and work toward your goals.
FAQs
How to create mandala art digitally?
Designing a digital mandala vision board involves blending structured planning with artistic creativity. Here's how you can do it using your preferred digital tool:
- Set up your canvas: Start with a high-resolution square canvas to ensure a clear and balanced layout.
- Activate symmetry tools: Use the symmetry or radial tools available in your software to create evenly spaced sections for your goals [9].
- Use a template: Begin with simple symmetry guides to help you organize your goals and ideas effectively.
-
Organize with layers: Separate your work into layers for better control and editing. Suggested layers include:
- Base patterns
- Goals and intentions
- Affirmations
- Decorative elements
- Save in multiple formats: Keep an editable version for future updates and export a transparent PNG for sharing or digital use.
Stick to 5-7 goals or affirmations per ring section to keep your design clear and focused [1][5].
"Using layers to organize different elements of your mandala while maintaining a minimum 4.5:1 contrast ratio ensures both editability and accessibility" [10].
For detailed goal placement, revisit Step 3's layering techniques to keep everything organized and visually appealing.